


 Reply With Quote
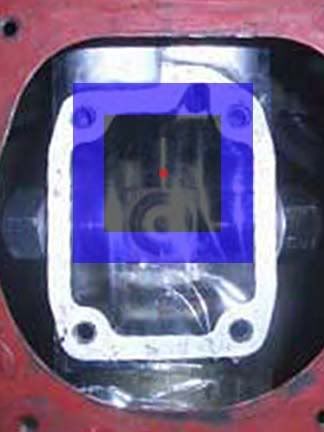
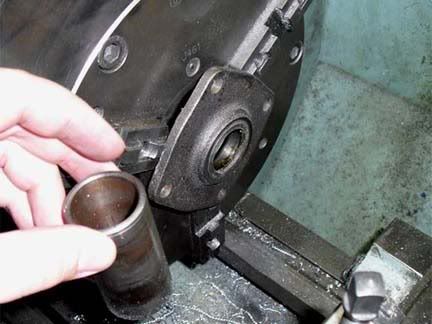
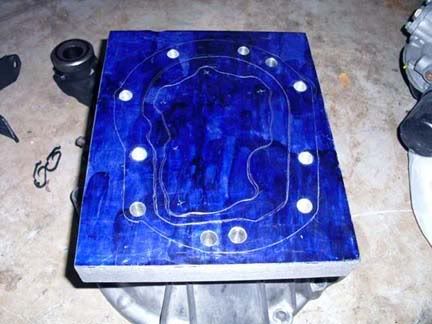
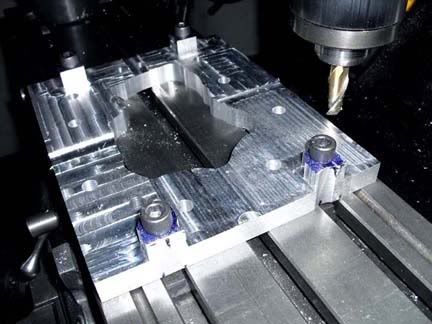
6. Checked to make sure the center cleared, then placed my 'template' onto it and marked the position I wanted it. Drilled and tapped one hole to hold it steady for marking & drilling the rest.
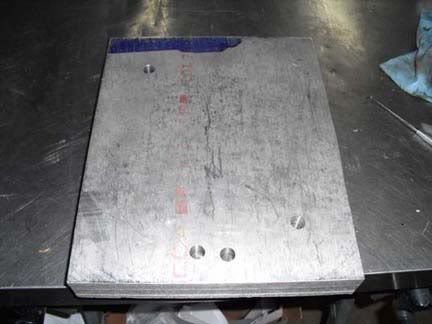
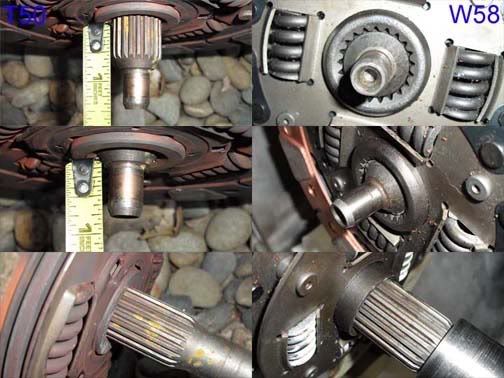
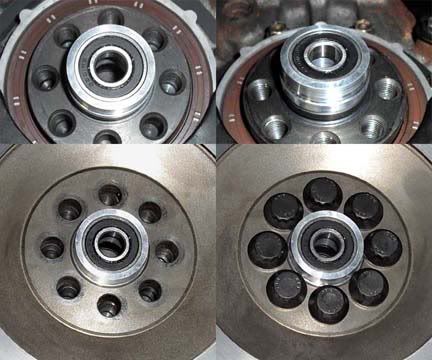
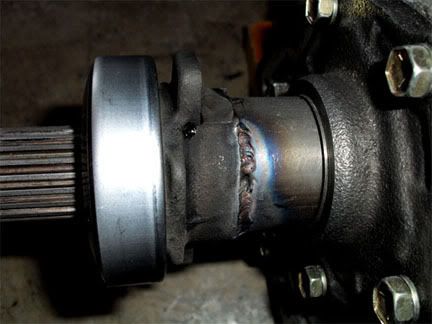
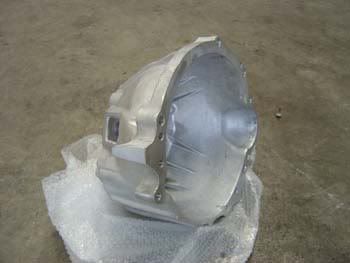
In this pic you can see the mark that I put to estimate the centerline, as well as how thick this chunk was (almost 1.5").
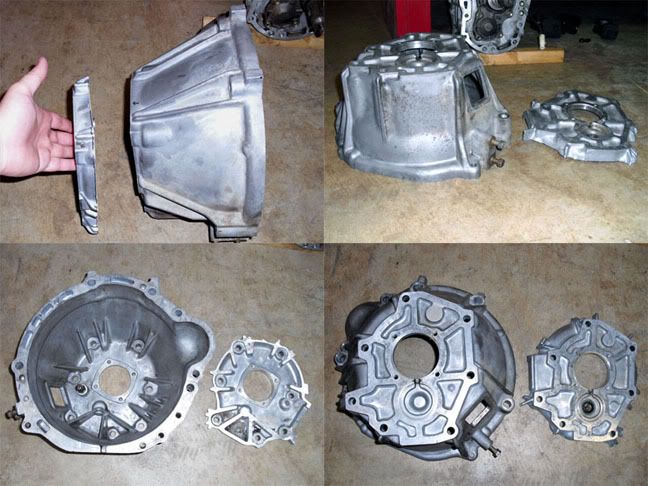
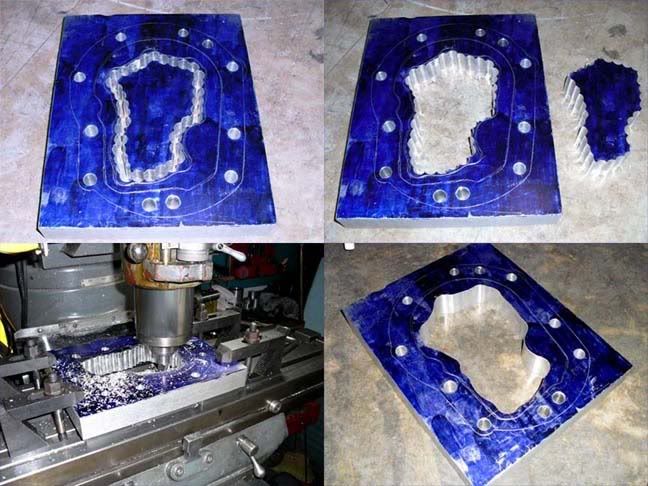
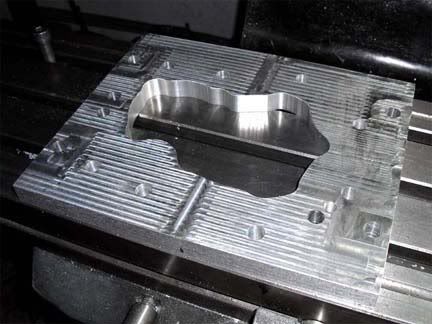
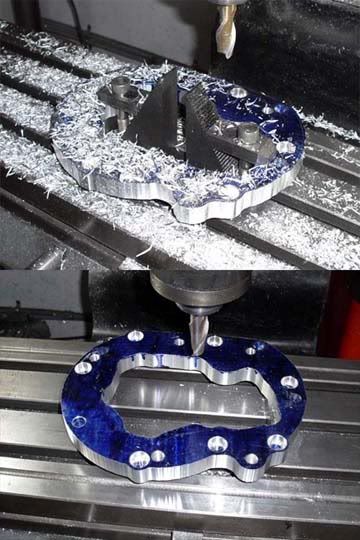
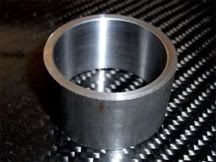
7. After everything was marked off and drilled. Milled the piece down to it's final thickness, which sounds short & easy but this is one of the longest parts of the process.
8. Re-dyed the material to mark the rest of the holes, checked clearances, and drilled and tapped the rest necessary.
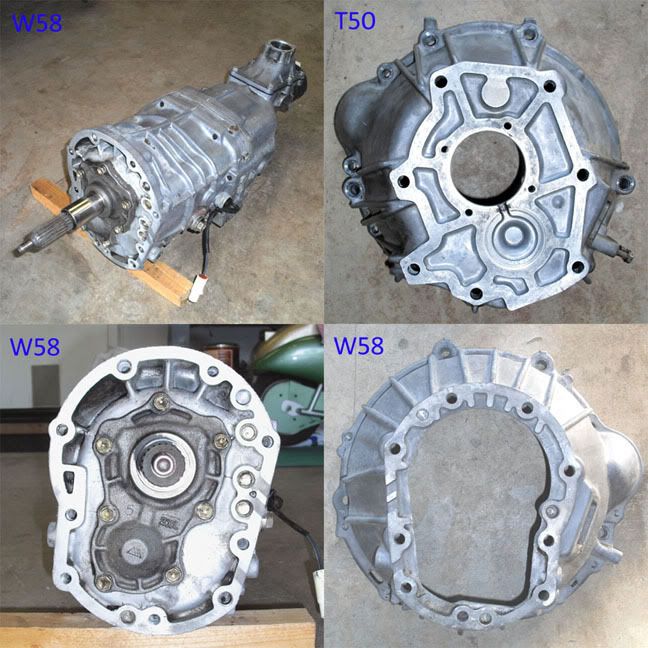
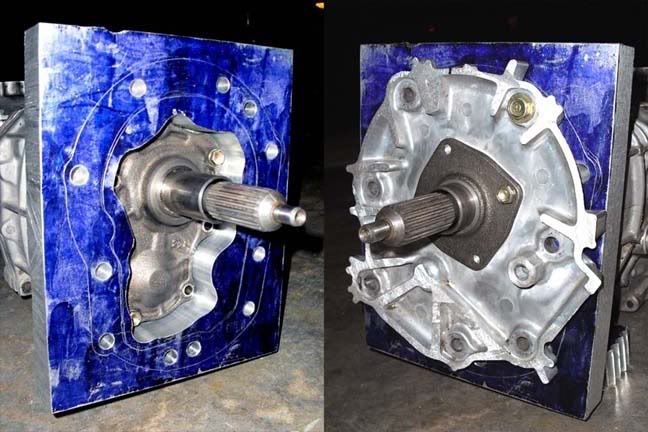
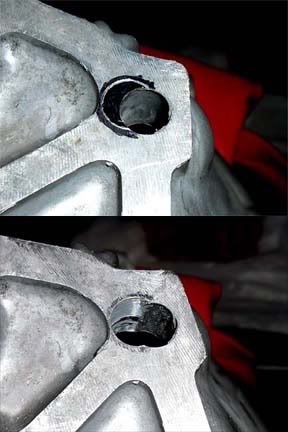
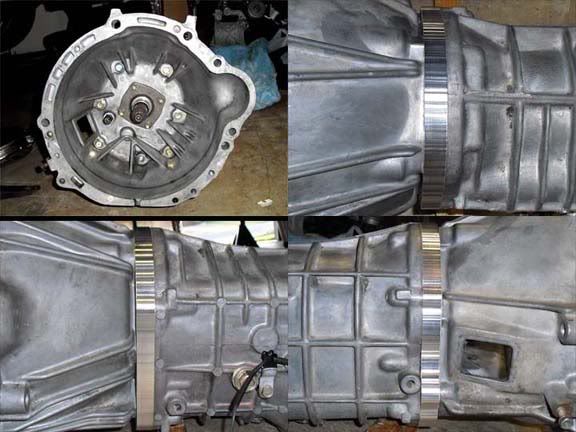
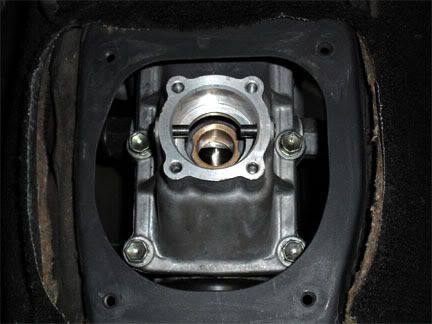
Note: due to trying to make the shifter sit perfect/upright with little to no 'lean'. I found you can't utilize the bottom center bolt hole of the T-50 bellhousing, because the shape of the W58 input shaft collar/plate opening leaves no material to work with. So it only uses 6 out of 7 bolts on the T-50 bellhousing. Also, due to where the T-50 holes have to be drilled/tapped I could only use 8 of 9 mounting positions on the W58 side. This is more than fine IMO, should be plenty strong.
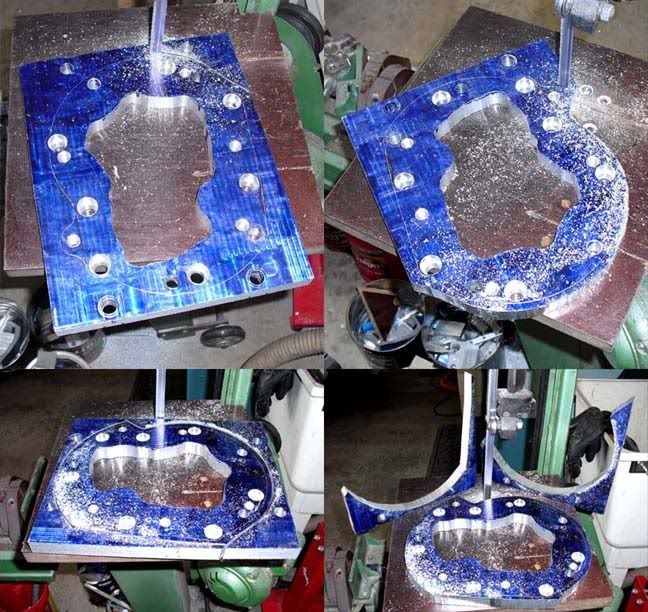
9. Bandsaw made quick work of most of the unnecessary outside material.
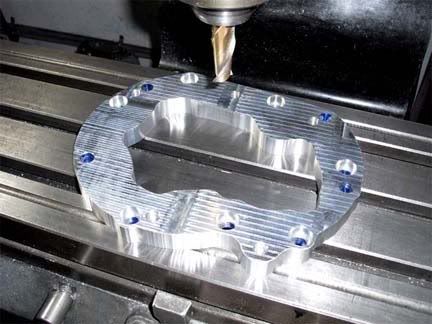
10. Milling machine again for the final cut.
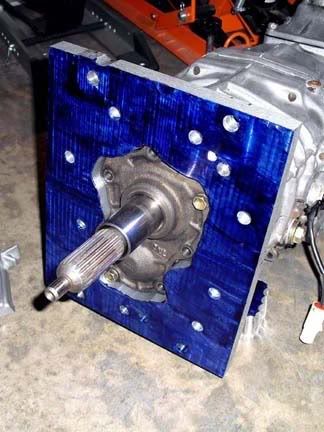
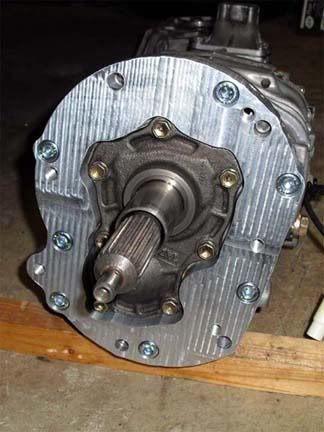
11. And the plate is finished.


 .
.


Bookmarks