


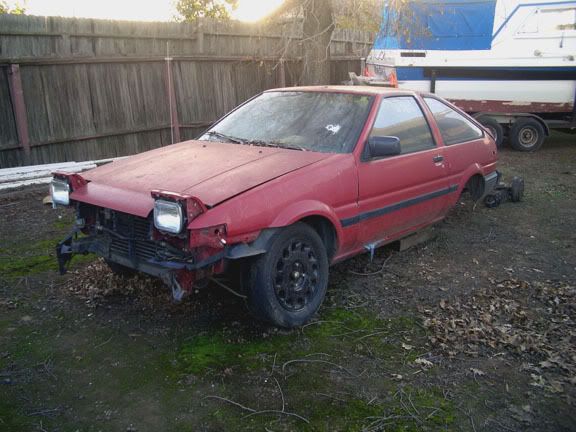

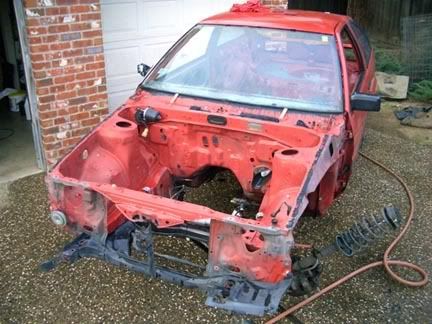
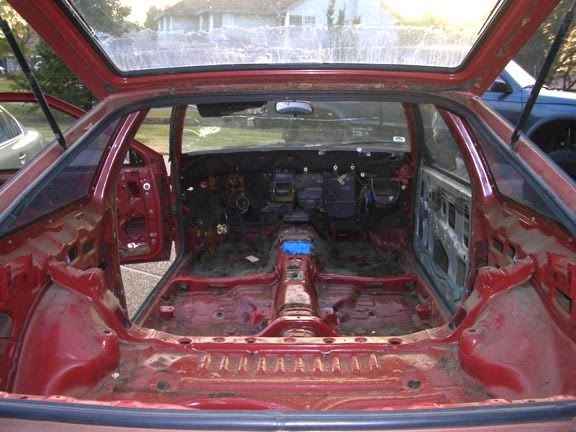
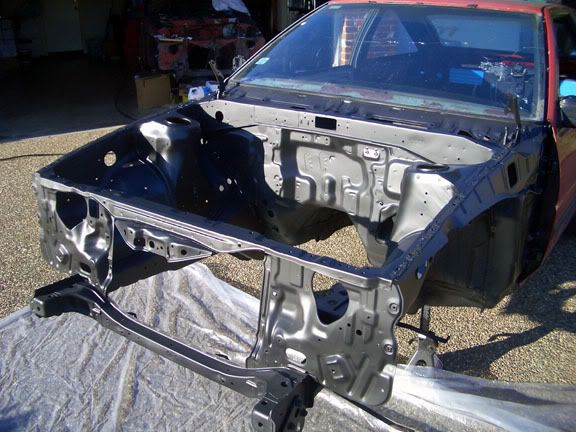
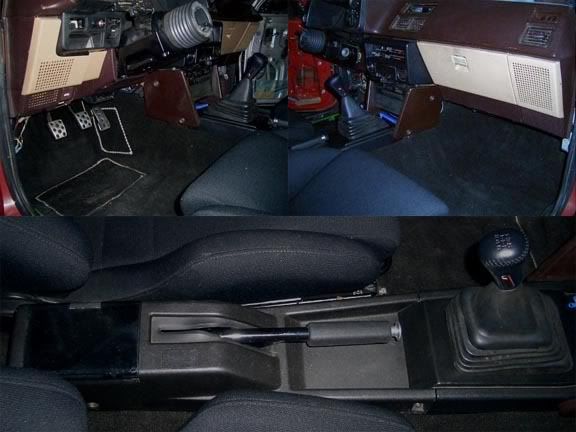
 I did the interior & engine bay, exterior to come later. Here's a few pics for fun. But this is NOT part of the SR-5 to GT-S swap, and this is all the detail I'm giving here.
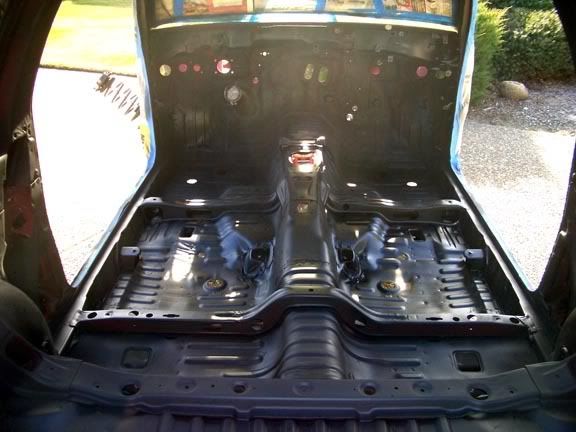

 Reply With Quote
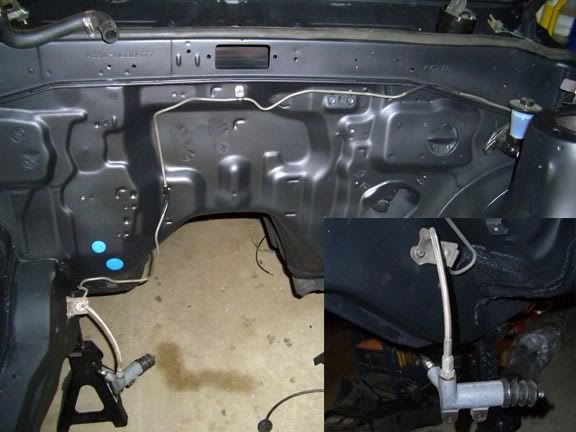
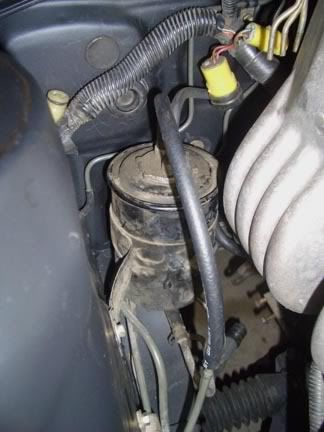
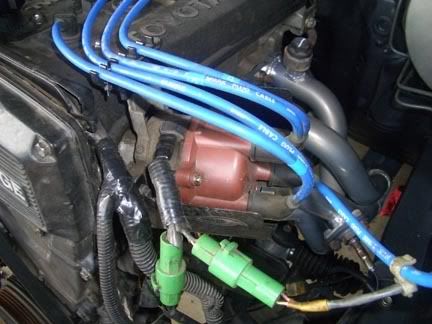
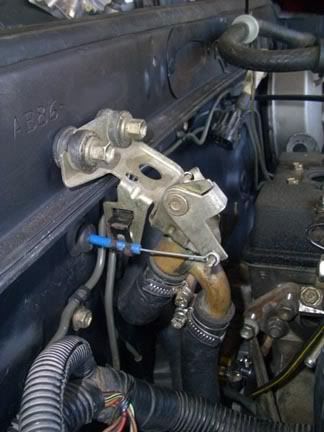
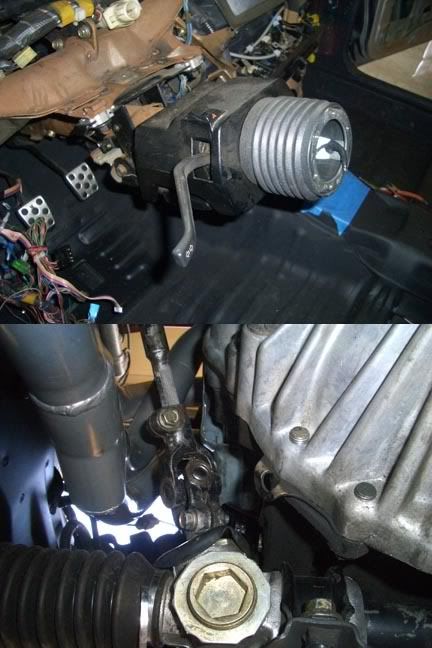
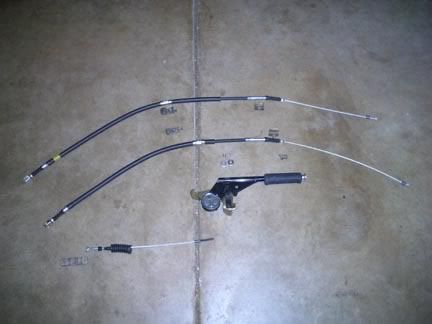
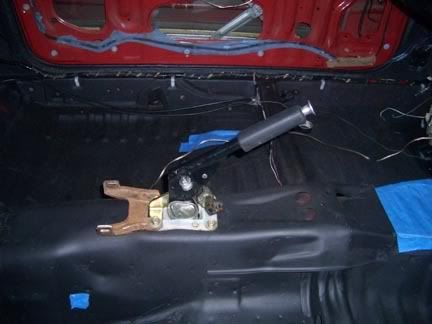
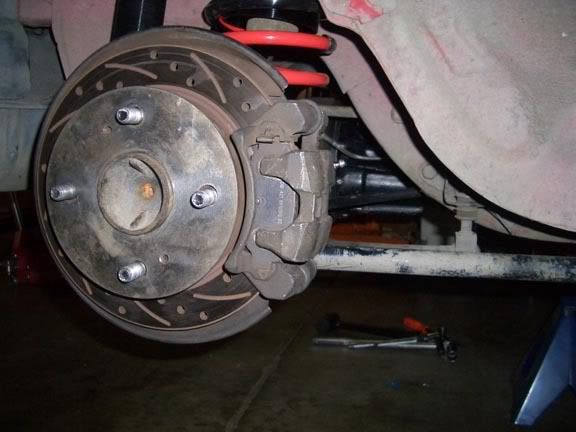
3. Install the clutch hardline, and slave cylinder. If you are feeling cheap the rubber line is the same as the SR-5 one, but I recommend getting a good stainless steel/teflon line. The bracket that holds the line is the same on both SR-5 & GT-S. All you need to do is undo the two 10mm bolts and swap the bracket to the passenger side which is predrilled and threaded for a clutch line bracket.
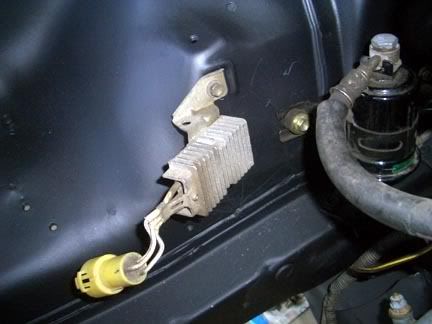
Note: in this picture none of the brake hardlines are present, makes it easier to see what your going to be changing. But they do need to be present & behind the clutch line due to the way they mount/route.
4. The GT-S throttle cable.
5. The proportioning valve (only if necessary, refer to parts list note)
6. Install GT-S brake & fuel lines. And the gas tank.
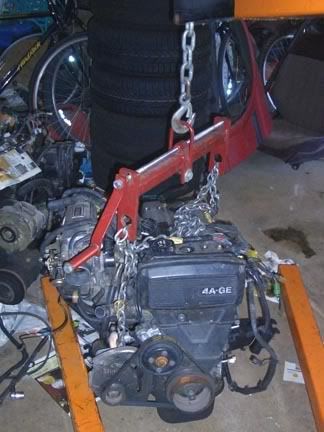
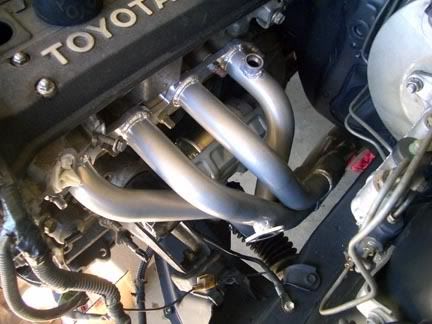
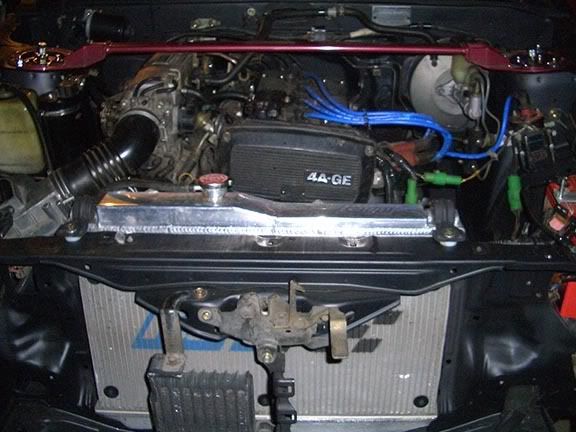
7. The engine & transmission (much easier to install together).
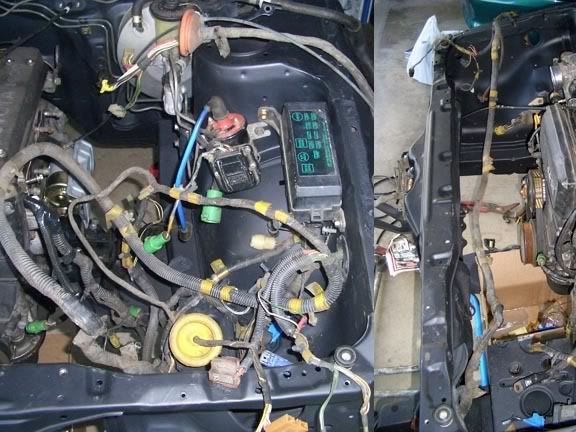
GT-S engine, transmission & wiring harness waiting to be installed.
Note: When removing or installing the engine I recommending remove the rear water outlet with sensors, metal vacuum lines and egr valve w/pipes from the engine. It makes it way easier to remove/install and you won't break the hard to find BVSV's.
Installing.
Installed.
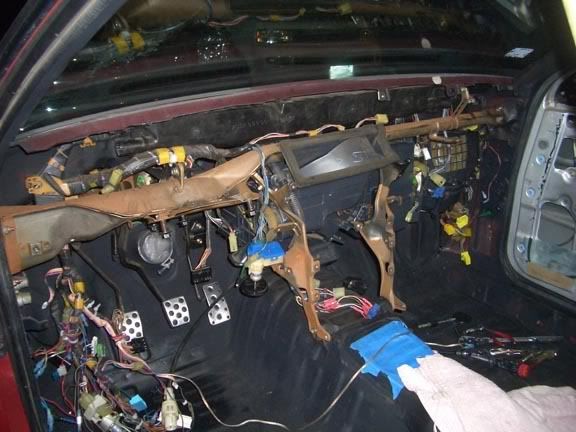
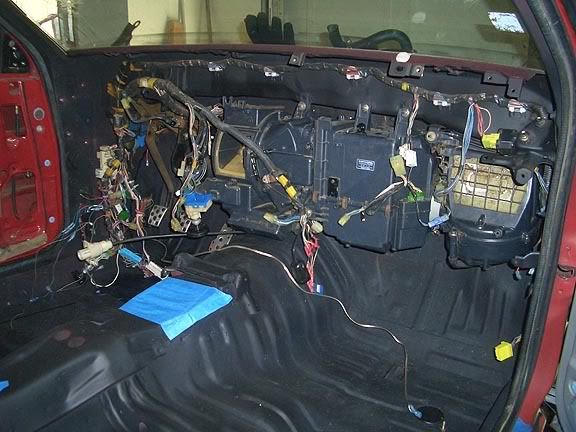
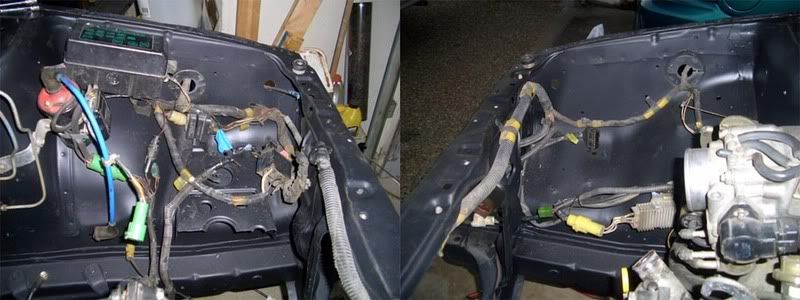
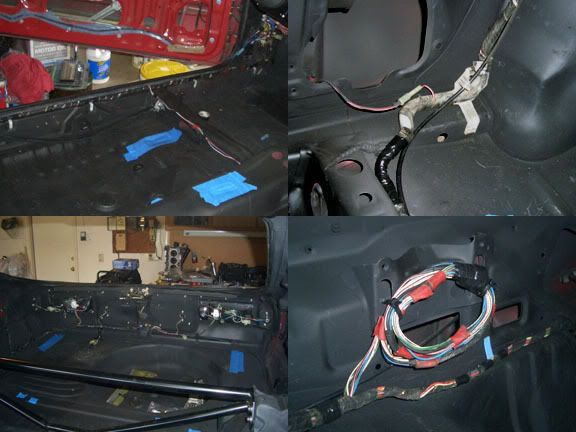
8. Install the dash harness (with interior fuse boxes, relays, etc), dash mount/reinforcement bar, hvac control/radio bracket & hvac parts (defroster & vent piece) that were removed for access to install the GT-S dash wiring harness.


Bookmarks