Page 2 of 2 FirstFirst 12
Results 16 to 25 of 25

Thread: Fixing a rusty fuel tank

  1. #16
    Junior Member Grease Monkey
    Join Date
    Sep 2006
    Location
    South Australia
    Posts
    186

    Default Re: Fixing a rusty fuel tank

    The coating was fantastic. The paint was not that runny so it took time to roll it around all the surfaces.

    Smell wise, nothing different to any other house hold paint. I did mine in a car port and didn't take particular attention to any overly strong smells.

  2. #17
    Junior Member Backyard Mechanic 3sgte's Avatar
    Join Date
    Jan 2006
    Location
    Canada
    Posts
    489

    Default Re: Fixing a rusty fuel tank

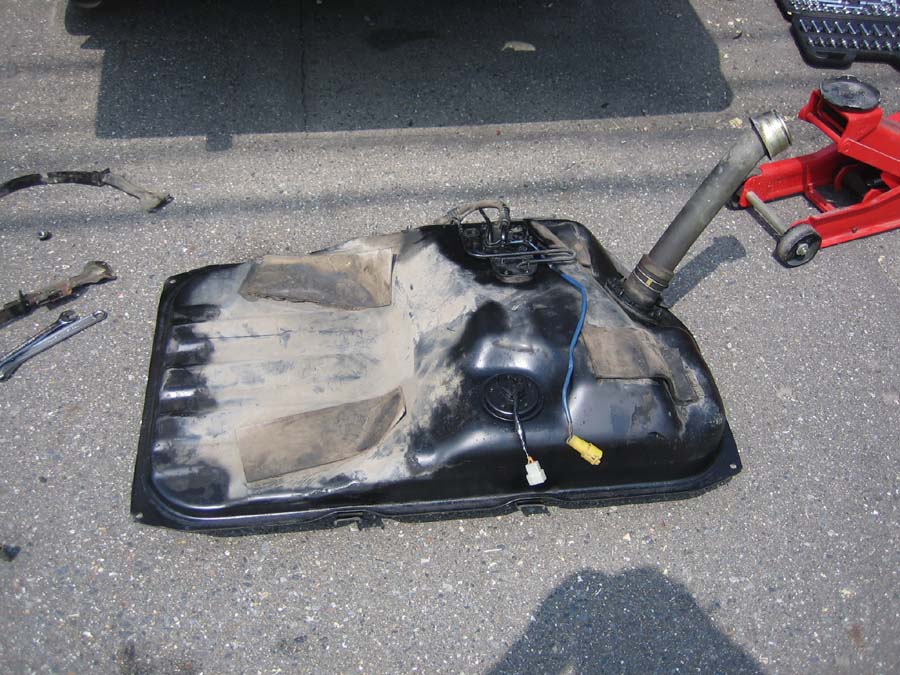
    Well, I finally got around to coating the inside of the tank.

    The photos were taken with everything fully wet, so I couldn't get the camera into the tank to take nice photos.

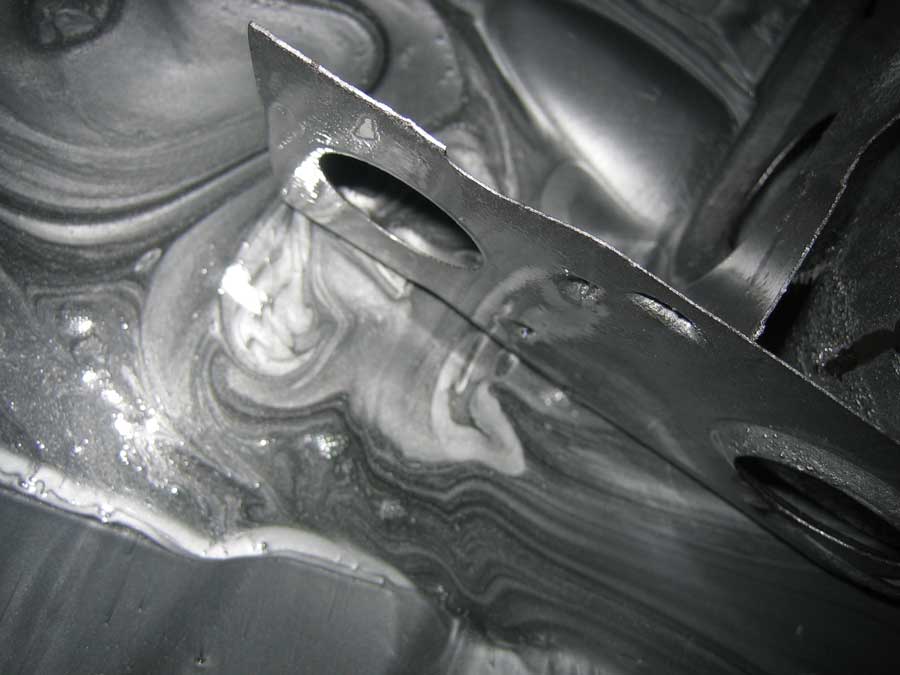
    Here is one photo after the first round of shaking:

    Obviously it needed more shaking to get the inside of the surge chamber coated.

    At this point I reached inside with a spraycan cap and poured a bunch of the sealant into the surge chamber.

    Reclose tank. Shake tumble etc. Thanks to my buddy who helped me juggle the tank.
    My arms are very appreciative for the help.
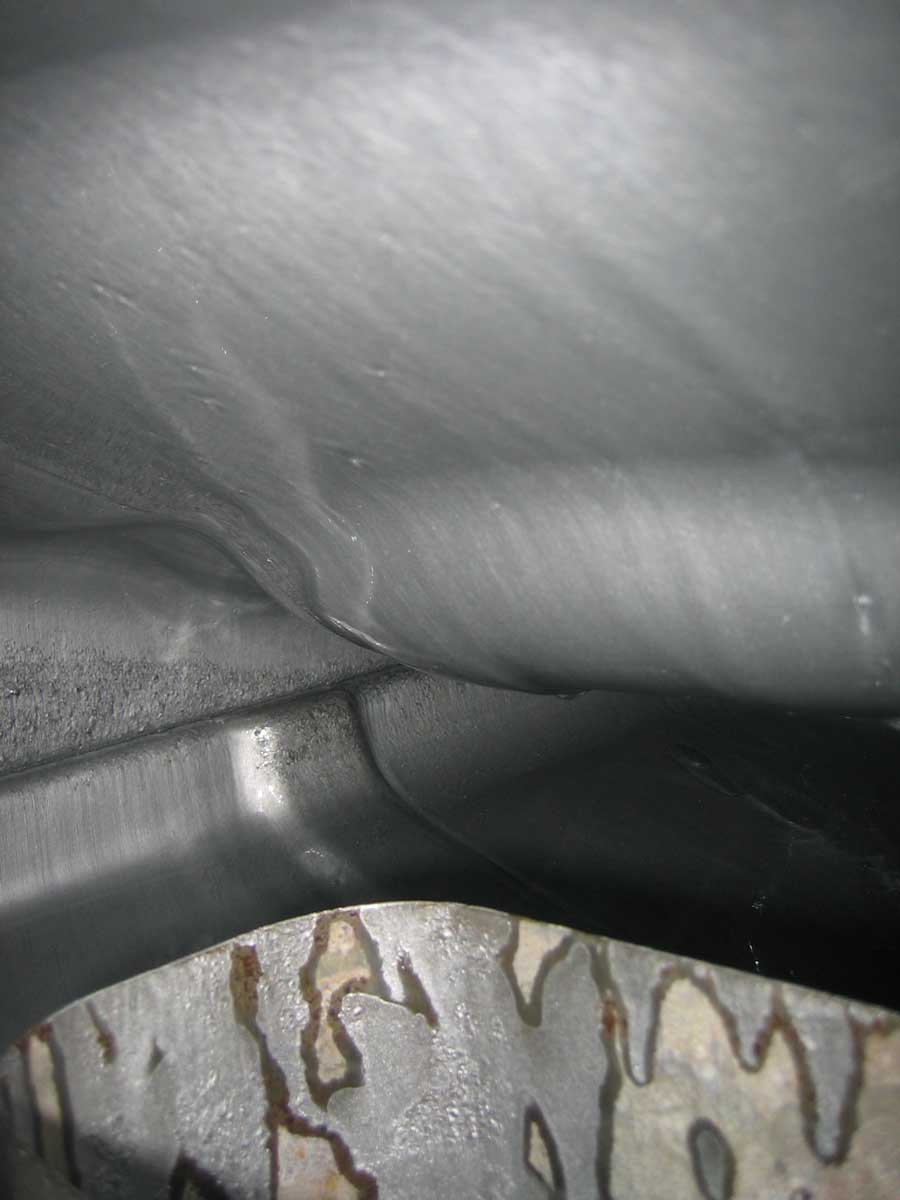
    After more shaking:


    The coating came in a 1 quart can (approx 1 liter).
    This is tons of coating to do this tank.
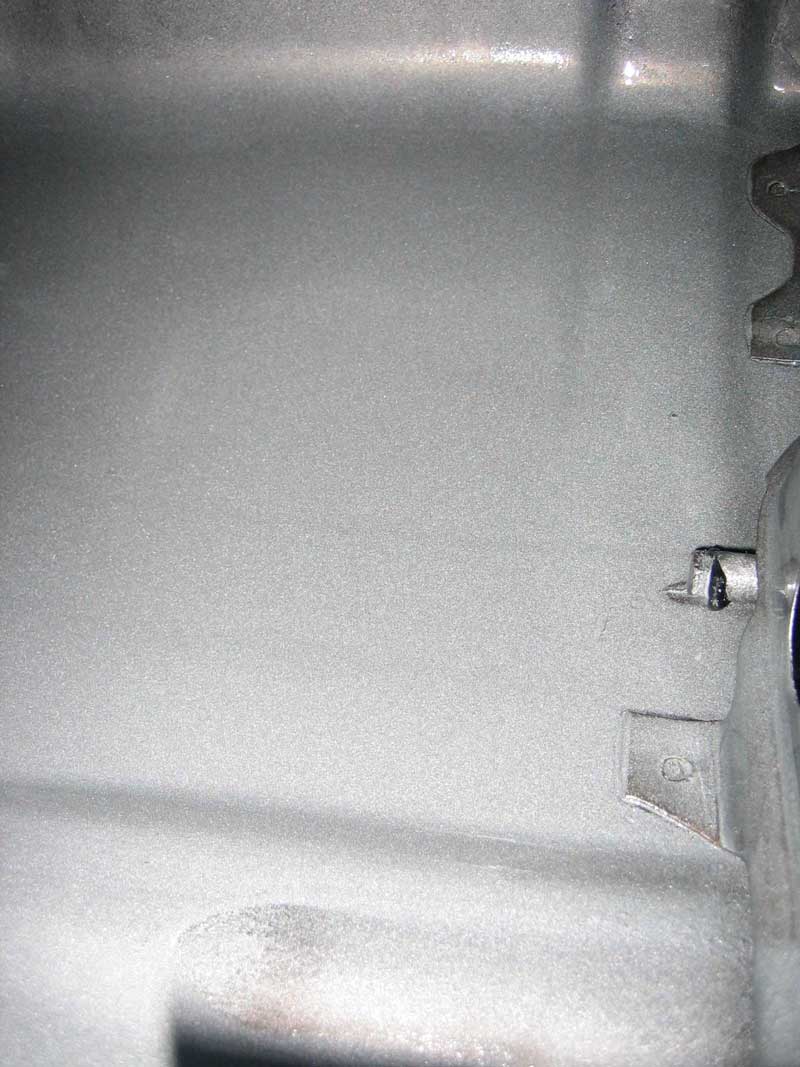
    After all the shaking and tumbling was done, I drained the extra coating out (as per the instructions) and put it back into the can. Approximately 2/3 of the original volume came back out of the tank. The coating is quite a bit less viscous than I thought it would be.

    The shaking to distribute the sealant was far easier than I would have guessed.

    To help show the thickness (viscosity) of the coating:

  3. #18
    My Wife says I have Too Much Toyota o_man_ra23's Avatar
    Join Date
    Nov 2005
    Location
    QLD
    Posts
    6,684

    Default Re: Fixing a rusty fuel tank

    Nice work fellas. Looks like they came up the goods.
    Cheers, Owen
    1977 RA28 with 1JZ-GTE (Was 18R-GTE)
    Lancer EVO Brakes into old Celica/Corolla/Corona
    Doing the things that aren't popular... cause being popular and being good are often distinctly different.

  4. #19
    Incompetent Automotive Encyclopaedia
    Join Date
    Mar 2006
    Location
    Brisbane
    Posts
    978

    Default Re: Fixing a rusty fuel tank

    Out of interest, I paid around $300 to have a tank treated - but this included adding a surge tank and some external fittings.
    Must.... avoid.... urge... to... upgrade... parts I haven't.... used.... yet.....

  5. #20
    Junior Member Domestic Engineer
    Join Date
    Oct 2009
    Location
    NSW
    Posts
    793

    Default Re: Fixing a rusty fuel tank

    Just got my fuel tank back from the local radiator shop. They cleaned the whole thing out, treated the rust in the filler neck, painted it black and charged me $40!

  6. #21
    Junior Member Grease Monkey
    Join Date
    Sep 2006
    Location
    South Australia
    Posts
    186

    Default Re: Fixing a rusty fuel tank

    looks good. did you pour out all the excess sealant? it can bubble if left pooled.

  7. #22
    Junior Member Backyard Mechanic 3sgte's Avatar
    Join Date
    Jan 2006
    Location
    Canada
    Posts
    489

    Default Re: Fixing a rusty fuel tank

    I poured out as much as I could get out.
    I didn't go full obsessive on trying to let it drip out, but I did do a decent job.

    I set it up on an angle to dry so that any that pools would be in a 'safe' area.
    Last edited by 3sgte; 15-05-2011 at 09:09 PM.

  8. #23
    Junior Member Grease Monkey
    Join Date
    Sep 2006
    Location
    South Australia
    Posts
    186

    Default Re: Fixing a rusty fuel tank

    Good work.

    Me too, i poored out as much as i could and then let it sit on its flattest part so the remaining sealant spread across largest surface area. Worked a treat!
    These tanks should out live us now - lol

    The pics i took above were about a day or so later so that's what it should look like dry with no pooling.

  9. #24
    Junior Member Backyard Mechanic 3sgte's Avatar
    Join Date
    Jan 2006
    Location
    Canada
    Posts
    489

    Default Re: Fixing a rusty fuel tank

    The fuel gauge sender unit was dead, and no longer available for the Carina.

    Toyota still has them for the AE86, and it is a pretty close match, so I bought one.


    The orientation of the arm is the same, the stroke of the arm is the same, and the height is also a match.
    I confirmed the stroke by installing it to the tank and moving it up and down by hand via the fuel pump installation hole.

    The connector is different, but that shouldn't be any trouble. As long as the resistance is the same, then I'm laughing!

  10. #25
    Junior Member Backyard Mechanic 3sgte's Avatar
    Join Date
    Jan 2006
    Location
    Canada
    Posts
    489

    Default Re: Fixing a rusty fuel tank

    Ok,

    I got the tank together and back in the car.
    The fuel gauge fit in the tank, but I haven't tested it yet.
    One note about the fitment. It fit in quite easily, but as I was buttoning it down, I found that one of the screw holes did not line up at the orientation I desired.

    That left me with 2 options, one to drill another hole, and 2 to rotate it about 30 degrees.
    I chose option 2, together with a little float arm bending to stop the float from bottoming out on the bottom of the tank.

    Here it is going in the car:


    I applied "Chassis Black" to areas with scratches or surface rust.
    In the rest of the areas the paint was good, so I left it.

Bookmarks

Posting Permissions

  • You may not post new threads
  • You may not post replies
  • You may not post attachments
  • You may not edit your posts
  •