


 Reply With Quote
do you have any before and after dyno comparisons on the same dyno with any off these heads that you do ?
just interested thats all.


On rare occasions my client's heads go into something a bit UN-Toyota....
The 1969 Triumph Spitfire: 1600#s... that is about 600#s LIGHTER than an AE86
with a rather un-inspired 68hp....
To put that in perspective... that is zero to 60 in 14.3 seconds(all 1600#s), while a stock AE86 GTS is good to do zero to 60 in about 9 seconds... @ 270+ kilos(about 600#s) more mass!
(I know.... I worked on Spitfire 1500 series when they were new .... yeah, I'm that olde)
So my client decided to mix in a little bit of twincam magic...
An oddball fact... this is one of the rare cases where using a 4AGE INCREASES the cars engine displacement by MORE than 20%
...... AND that is where OST-033 begins.....
More to come......
Information is POWER... learn the facts!!
do you have any before and after dyno comparisons on the same dyno with any off these heads that you do ?
just interested thats all.
i dont have a funny or cool signature.
Originally Posted by fixeruperer

no.... dyno plots...
I do have some flowbench results, and I've been told by a few clients that they "feel" the difference... but as of yet... no one has run a before and after with any of my heads. My hope is Skippy's head/engine, OST-032, will see a dyno. No dyno before because of engine damage, but Skippy will be a stock cammed 4AGE powered AE82. I plan on putting Skippy on the dyno, so I can give you after #s, just not before #s
Based on my clients parts list, I expect about 125-ish whp, or about 145hp. So that is just about double the power of the original engine
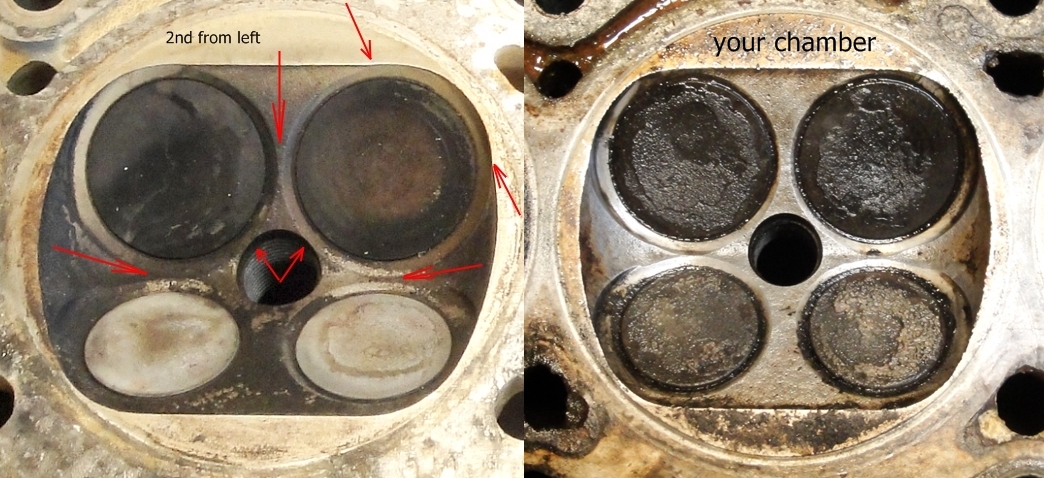
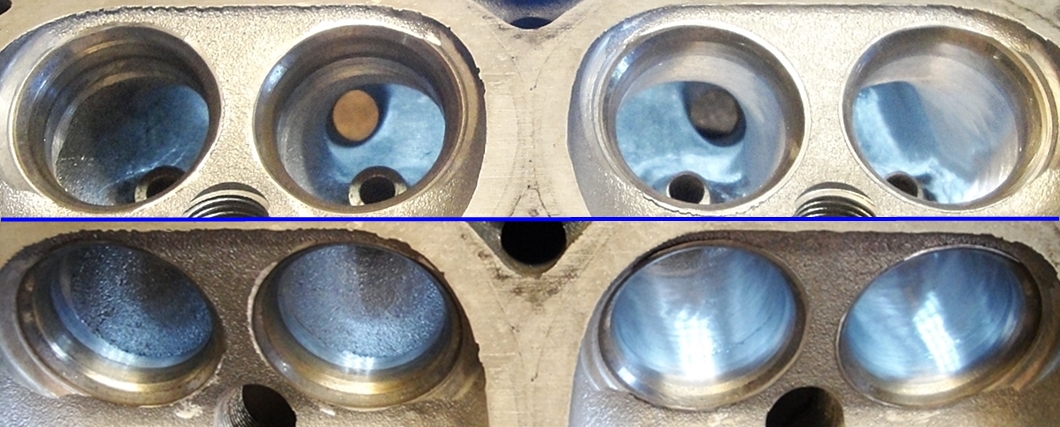
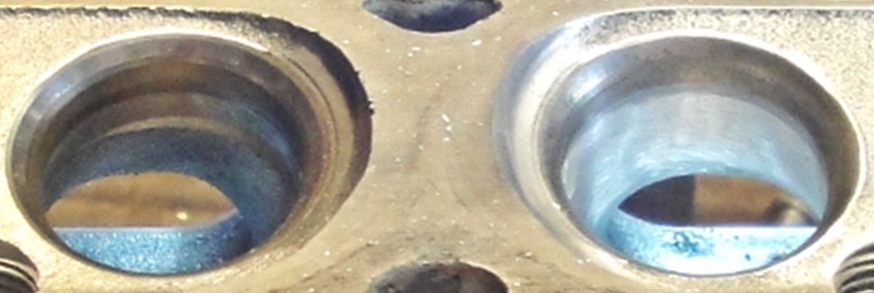
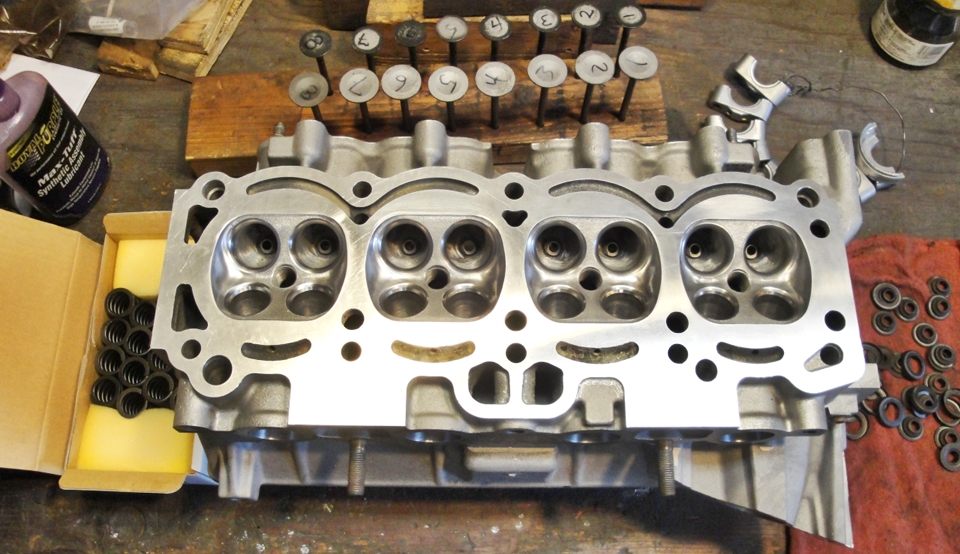
As has happened a bit to frequently recently, the head the client sent me has mis-cast chambers... His is on the right....
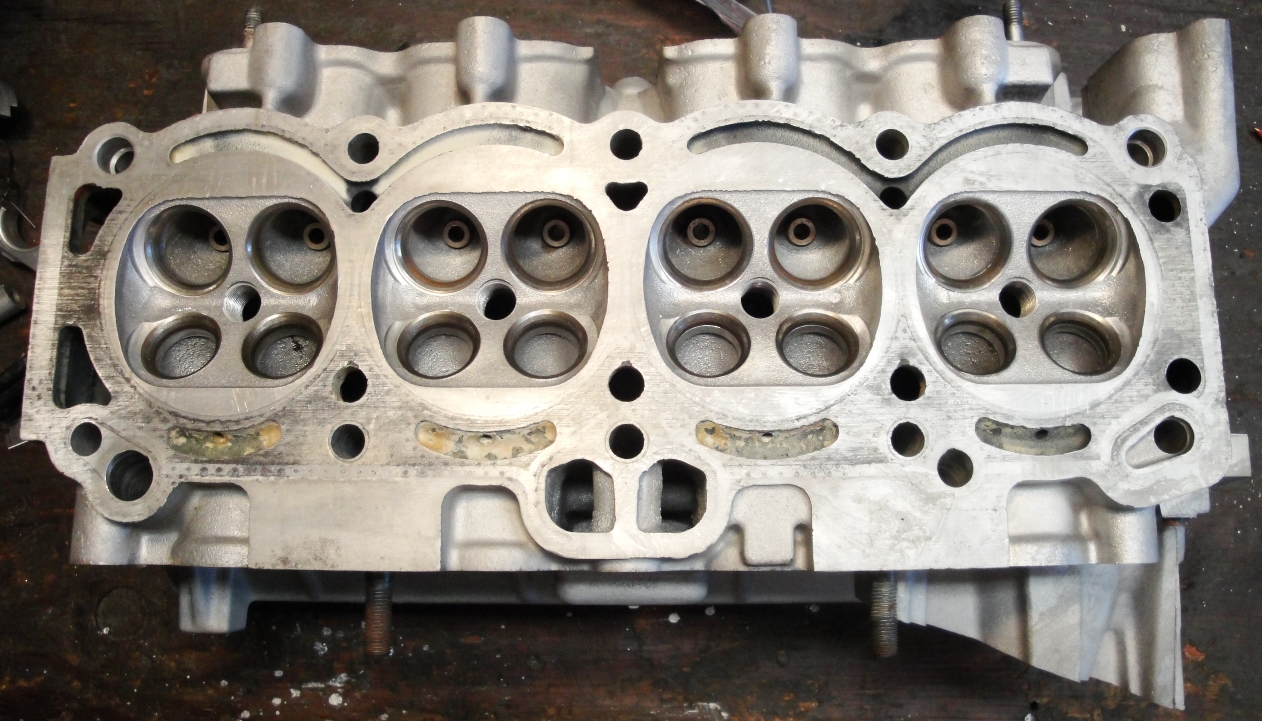
So, I've sourced a largeport head that is in better shape, had it cleaned, pressure checked, and it is all ready for port work....
and work proceeds on #1 intakes....
more to come.....
Last edited by oldeskewltoy; 10-06-2015 at 07:09 AM.
Information is POWER... learn the facts!!
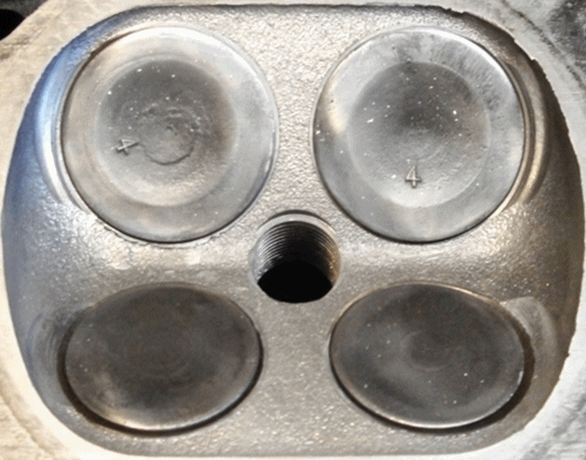
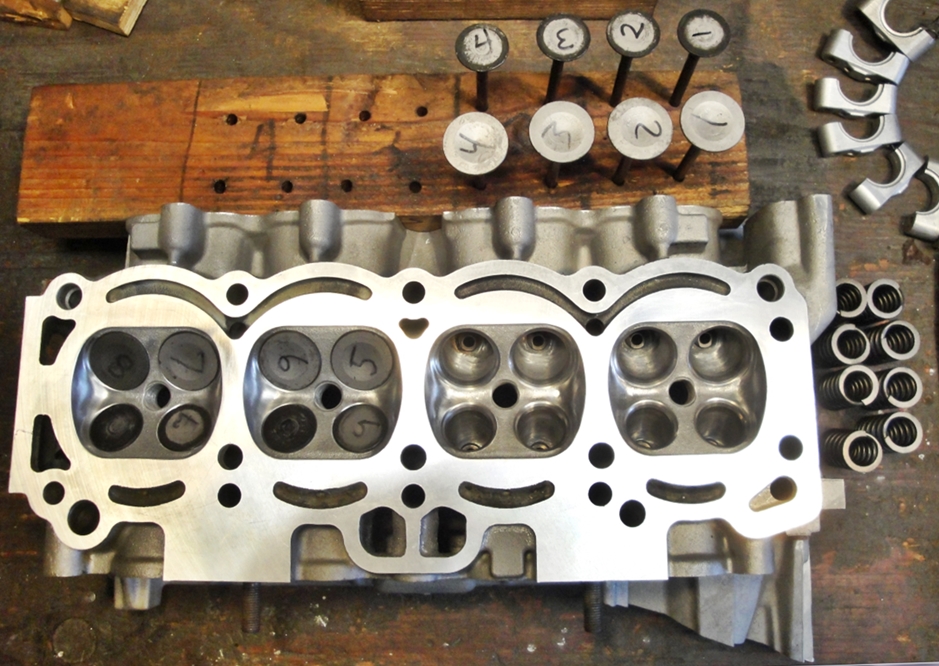
Chamber #1's progression...
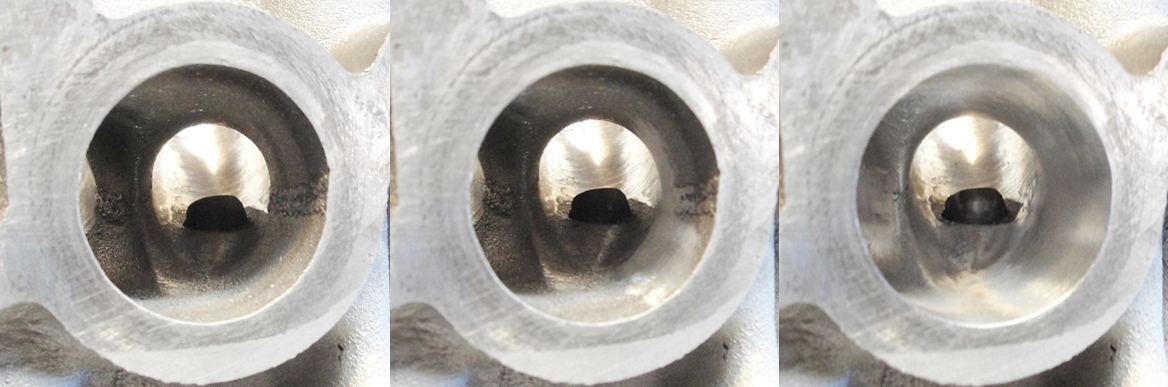
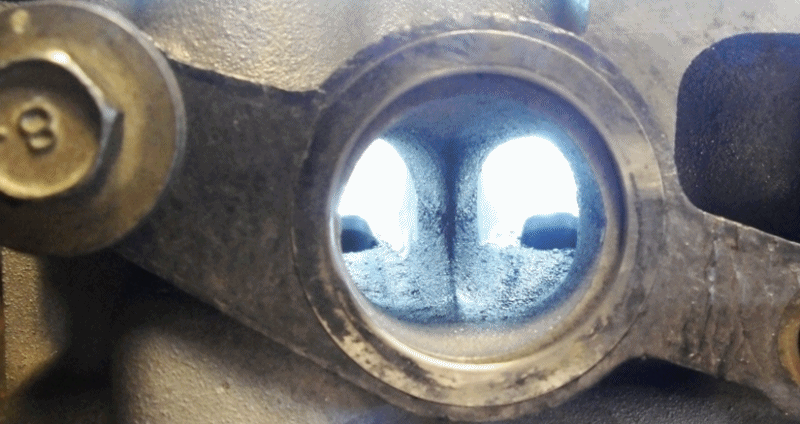
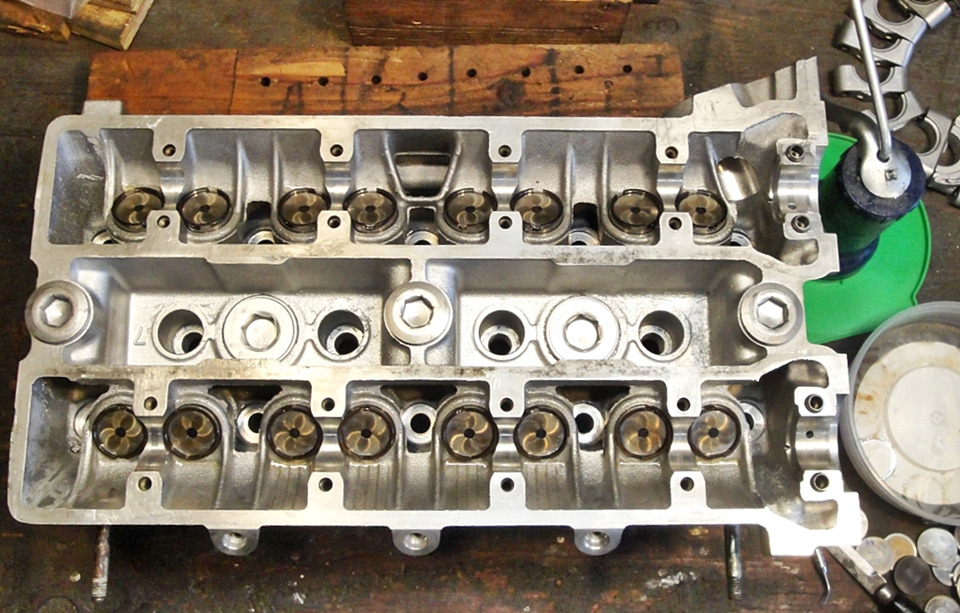
#1 exhaust ports progress as well....
more to come......
Information is POWER... learn the facts!!
Been busy since last week... our house is now on the market....
....and this head is now 3 down... 1 to go!!!
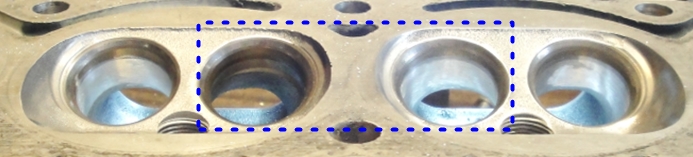
bowls #4 and #5, mirrors of each other....
a bit of perspective for those that might need it.....
with any luck this will be off to the shop for its 3 angle and surfacing by Wednesday....
More to come......
Information is POWER... learn the facts!!
#4 exhaust port... showing mostly #7 bowl, and a bit of #8....
This now goes to get its 3 angle and once it returns, checking chamber volumes...
more to come......
Information is POWER... learn the facts!!
& for anyone who is interested in the car build - http://www.triumphexp.com/journal/Gregxster
So...... long time no report.........
The head was @ the machine shop for about 2 weeks, the surface was machined .012" (a moderate cut), and it received a 3 angle, along with back cut intake valves........
When I got the head back, I began the task of checking, and setting chamber volumes. Chamber #1 was a few tenths of a cc larger then 2, 3, and 4, so chambers 2, 3 and 4, grew to match the volume of chamber #1. All now are at 36cc. This will give my client a final static compression ratio of 10.9 to 1.
With chambers now set, the process of assembly begins...
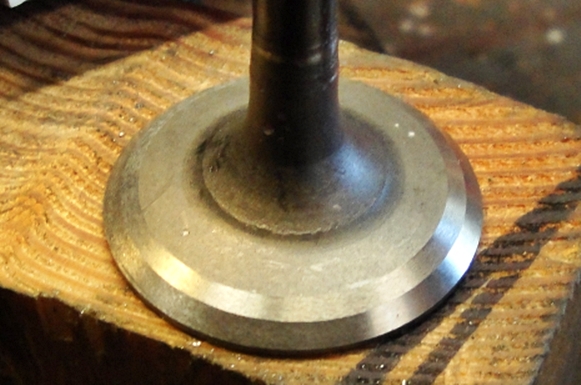
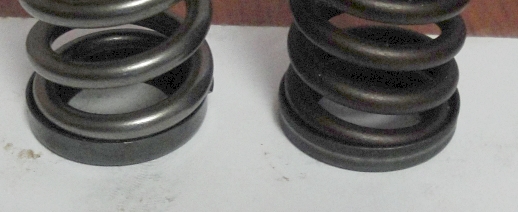
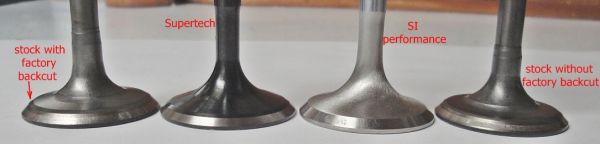
A quick side note... part of the delay in my work was the client had sent me Supertech valve springs, and the Supertech springs require Supertech retainers, and Supertech spring seats....
Here is how a Supertech spring "fits" a stock spring seat, stock on right to show the difference.
Long story short, he chose a set of Toda springs.
So with springs finally solved, assembly can begin - Toda spring on far left
Half way through assembly....
and finally fully assembled, including the installation of the buckets.
Next... installing the cams, and setting valve clearances.....
So more to come.......
Information is POWER... learn the facts!!
not likely.... the spring fits so poorly you would have realized the problem almost immediately... plus since the spring doesn't fit into the seat the spring would have needed compressing an extra millimeter, or two.... making it much harder to install them.
As to the Supertech valves..... that is a future flowbench project
But for now... that is still a future project
Back to OST-033....
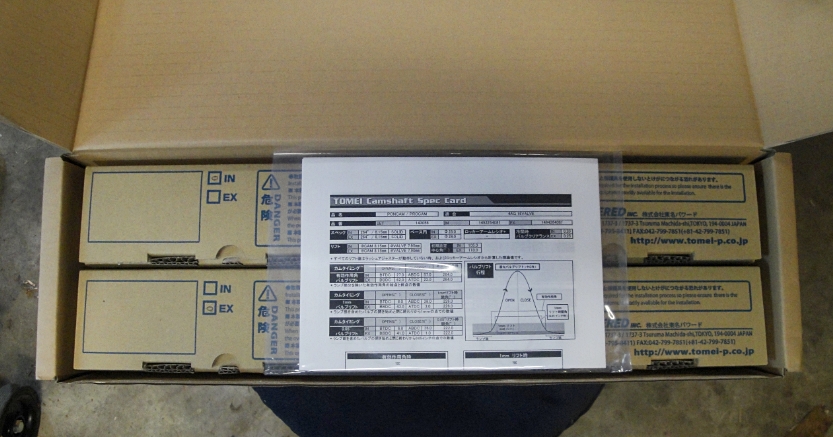
The Poncams....
Once opened.... a warning to be careful on installing the cams without breaking them!
a bit more detail on that warning
I've YET to break a cam... but there could be a first time... some day...
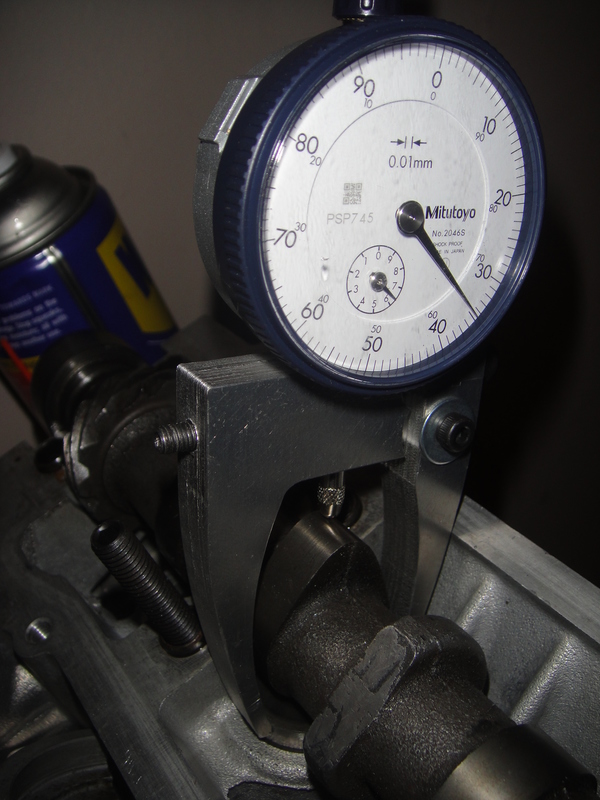
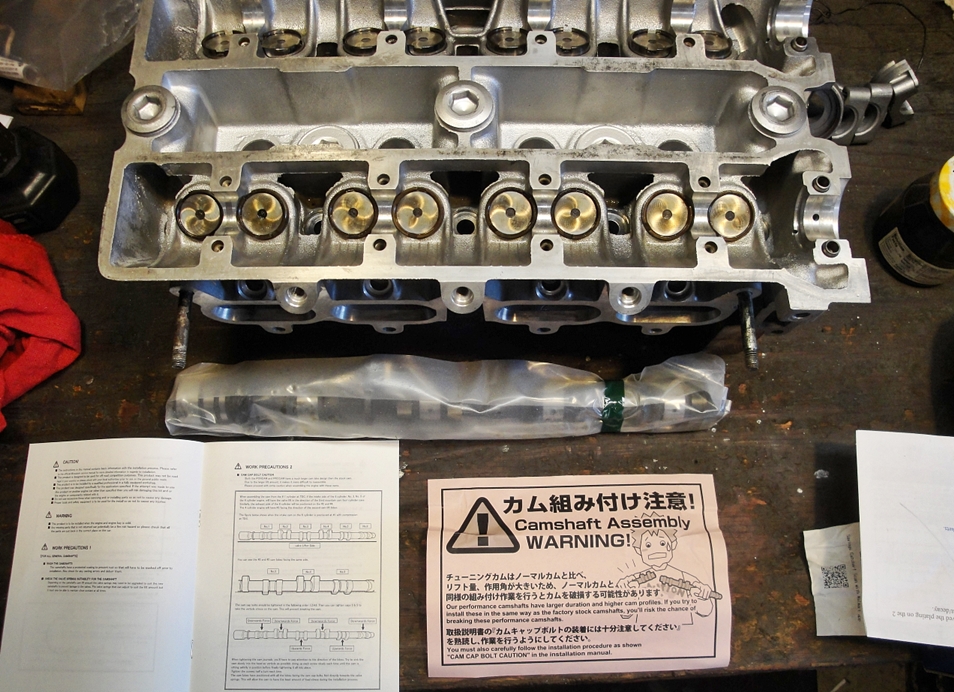
Intake cam in, valve clearance on the intake side .20mm, or .008". Since I have a reliable caliper that measures in SAE increments, we will use those for our clearances.
If you look to the right, on the pad of paper, I've begun with shims that are .114", I then installed the cams and the first 4 measurements are revealed. I want a final measurement of .008, and the measurements are a bit large, so it looks like this side will need to run thicker shims then .114"
All 8 on the intake side....
and I've now confirmed... the intake side needs thicker shims. The center row of figures are the current clearances - nothing excessive(to worry about)
Just for a fun snap quiz... how thick was the thickest shim I needed on the intake side???
With the intakes now set, here is what .008" clearance looks like
And after all are set..... The intakes are 4 @ .008", 3@ .0085", and 1 @ .009" - the exhausts are 6 @ .010", 1 @ .0105", and 1 @ .011".
this heads clearances are within .001" - the OEM cam spec allow for .004" (int - .006-.010, Ex - .008-.012)
To my client.... Note both cams have distributor drives machined into them, to distinguish which is which, look back between cyl 3 and cyl 4 and each is marked clearly - IN264-8.15, EX264-8.15
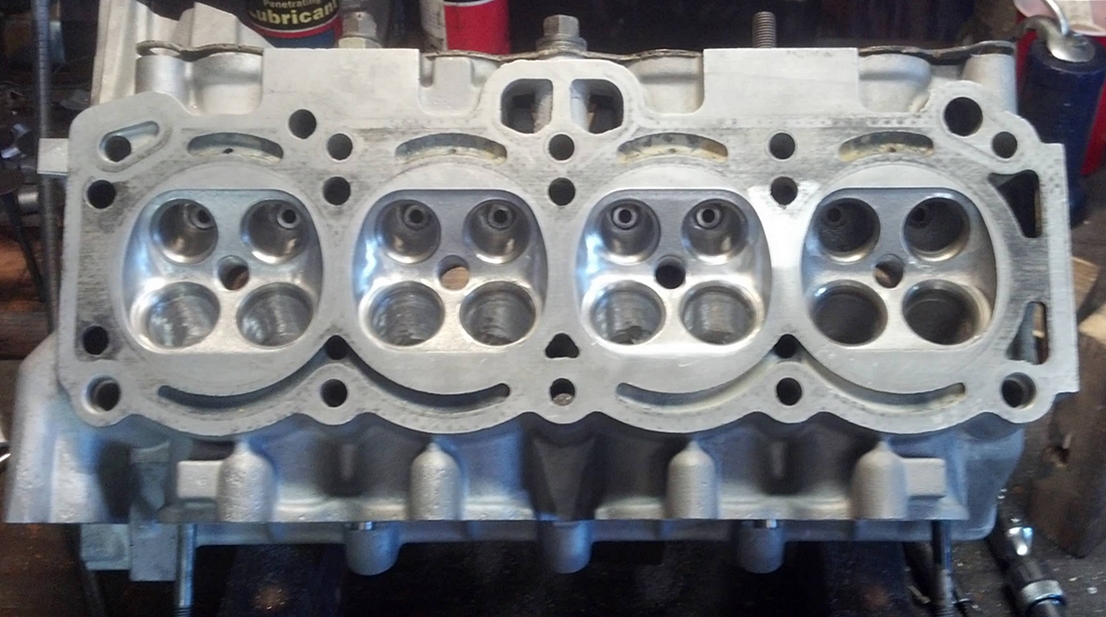
OST-033 is now ready to be sent back to my client.......
Information is POWER... learn the facts!!
#5 must have a 0.124" or 3.15mm by the looks of it. Thats a thick shim, dont think ive got any that big and i have a couple of hundred here. If you dont have one thick enough you can always cut the seat deeper by the same amount... might muck up your 0.1cc matched chamber volumes though
You might find this spreadsheet helpful, saves transcription and mental math errors. I find it real handy. Was built for metric but should work just fine in fathoms and furlongs...
http://www.toymods.org.au/forums/thr...=1#post1189391
Also, if you really wanna be anal about valve clearances, you gotta ditch the feeler gauges
There is no substitute for PUBIC inches
Never late in an x8
said video - ignition happens @ 1:48 - https://youtu.be/gnZU677inFk
That is one of the meaner 4AG idles I've heard.... best of luck with it!!!!
Information is POWER... learn the facts!!
zero to 60 in 6.06 seconds...... proof at 2:20
Information is POWER... learn the facts!!
 Posting Permissions


Bookmarks