


 Reply With Quote
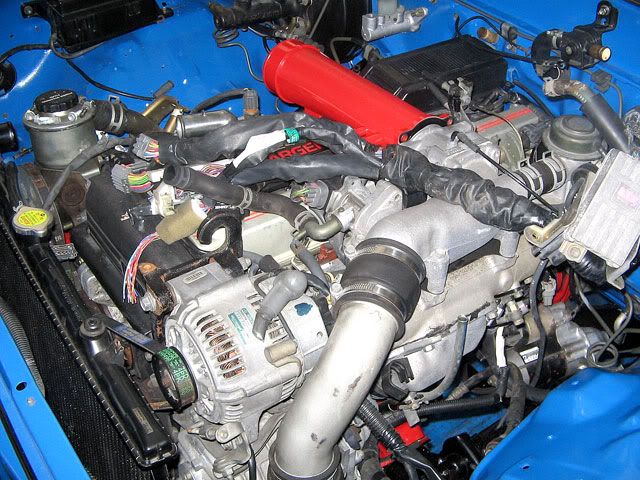
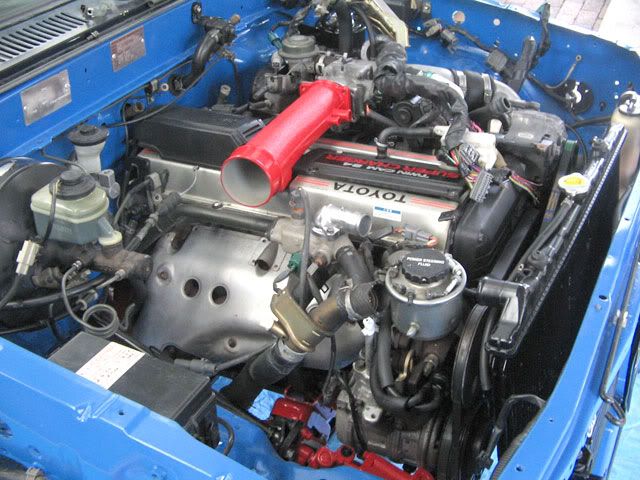
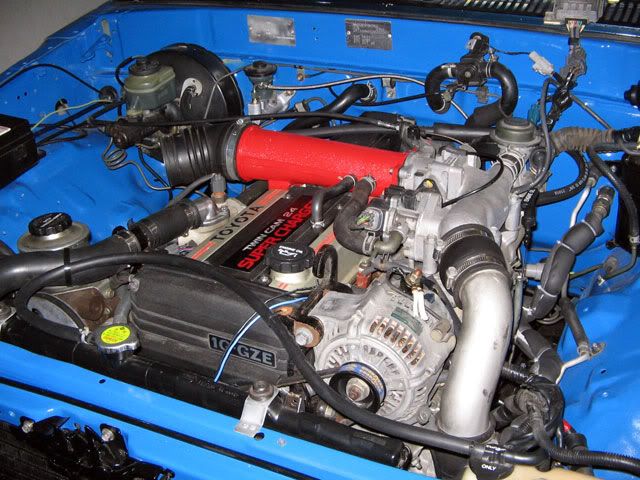
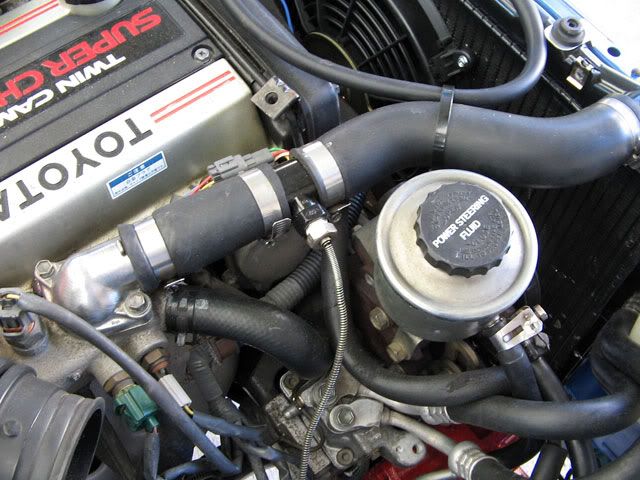
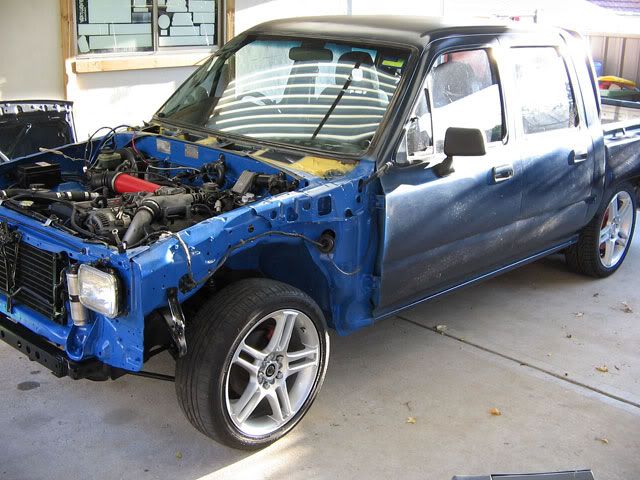
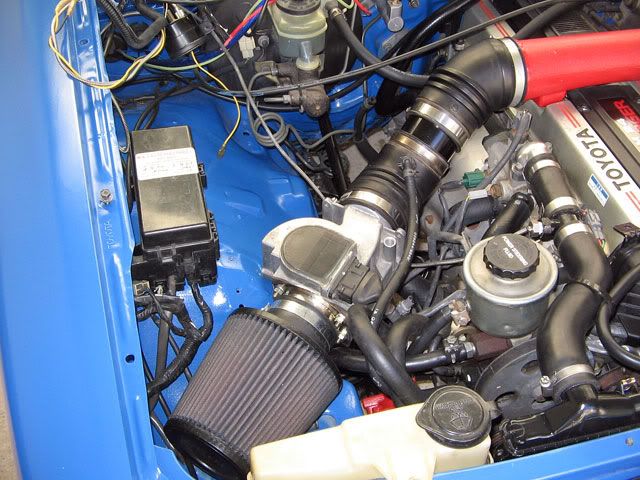
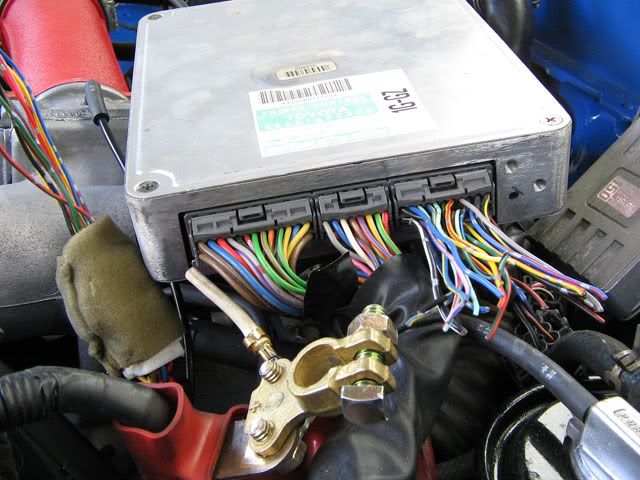
Another view of the 1GGZE installed. The coolant reservoir is fed from the radiator by a looping hose that I've cable tied in strategic locations (to the upper radiator hose and the engine hook on the passenger side).
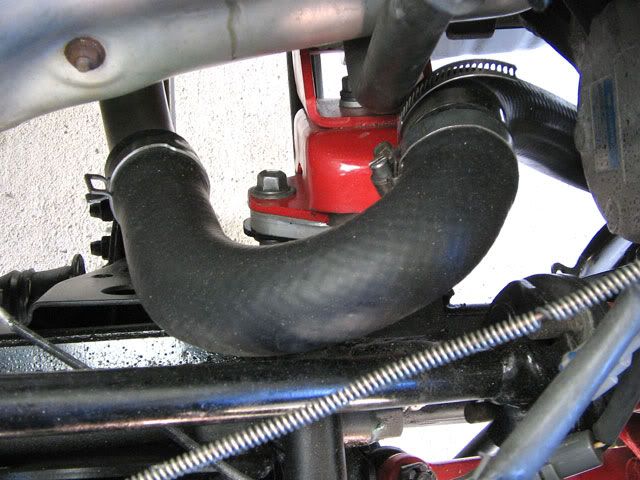
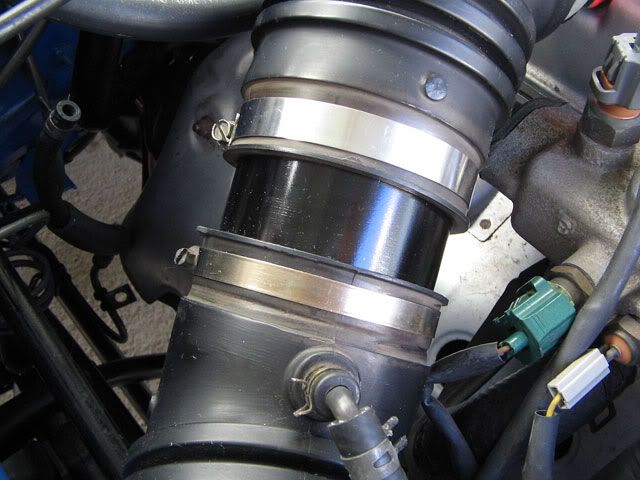
Upper radiator hose was sourced from Pick 'n' Payless out of another Toyota - Corona I think. It was joined by a T-pipe for the Water Temperature gauge sender and hose clamps. Lower hose is a combo of Holden Camira U-bend utilising a joining pipe and another Corona pipe. Scouring the Pick 'n' Payless yard for suitable hoses will usually get you something that will work.
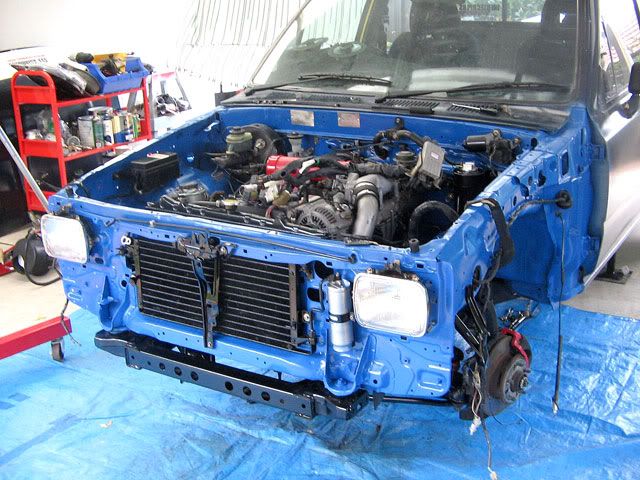
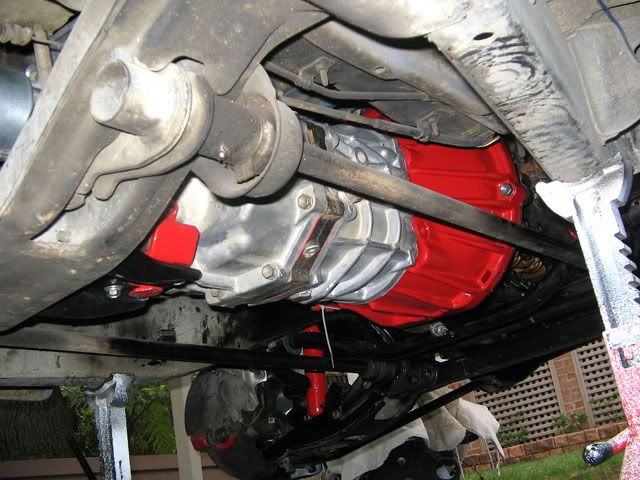
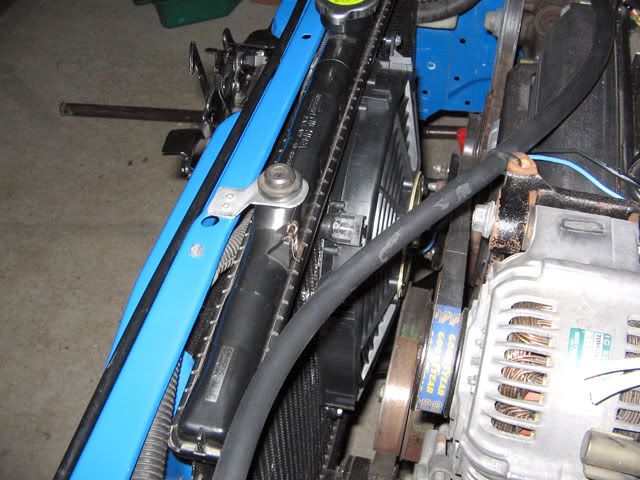
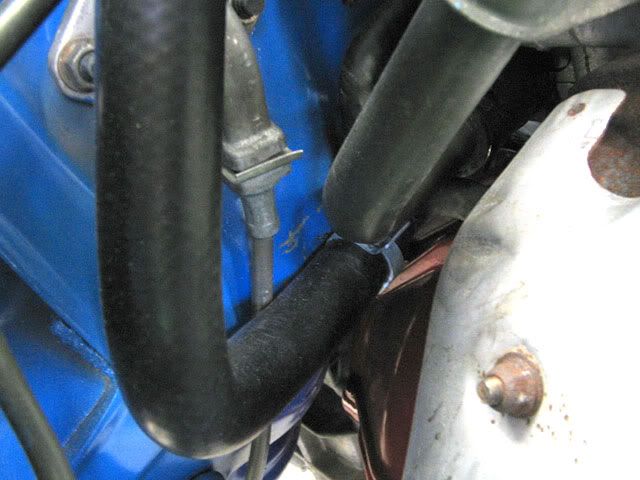
This is another view of the 10" thermo fan installed. I will be using one of Sideshow's controller units.
Even though this photo suggests there is a fair amount of clearance between the fan and the engine, it's deceiving. This was about the only place on the radiator that didn't come in contact with the engine pulleys. The 12" fan would not have given any clearance in my opinion but the nice thing about buying from Supercheap Auto is that you can try the 12" in your setup and if it doesn't fit swap it for the 10".
http://spw.starkie.net/index.php?categoryid=9
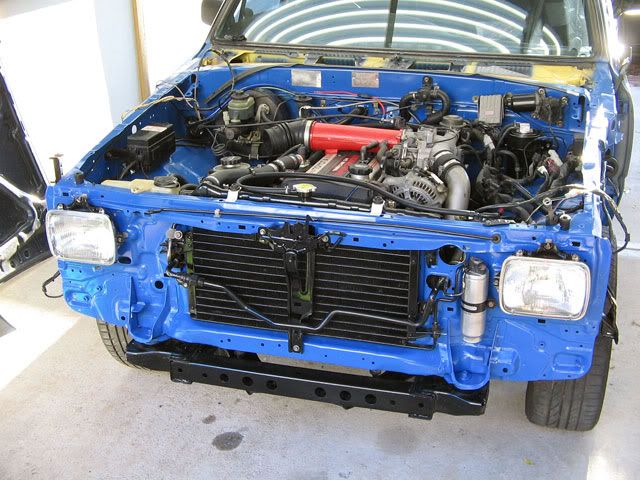
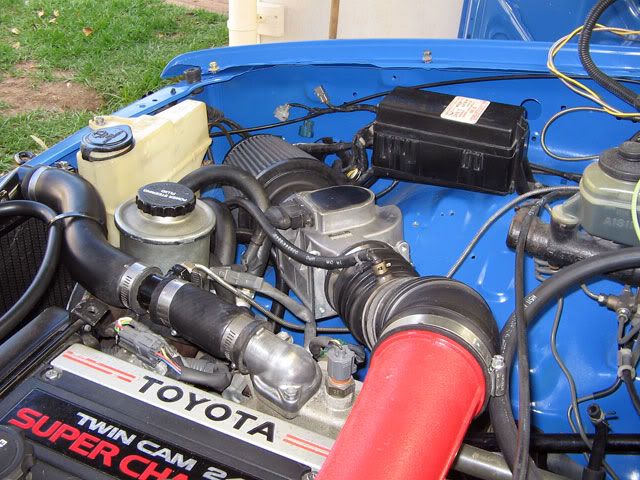
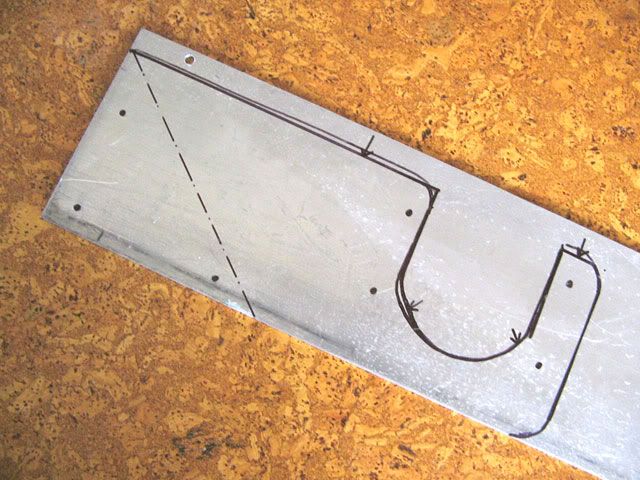
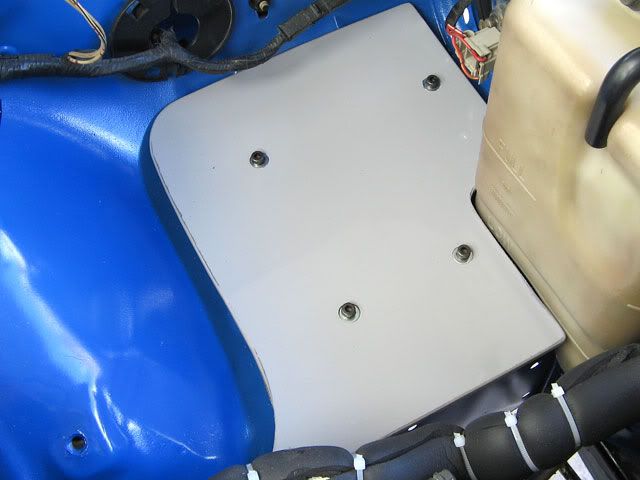
Coolant reservoir has been reinstalled in the original position, and the battery will fit just behind it on a custom plate.
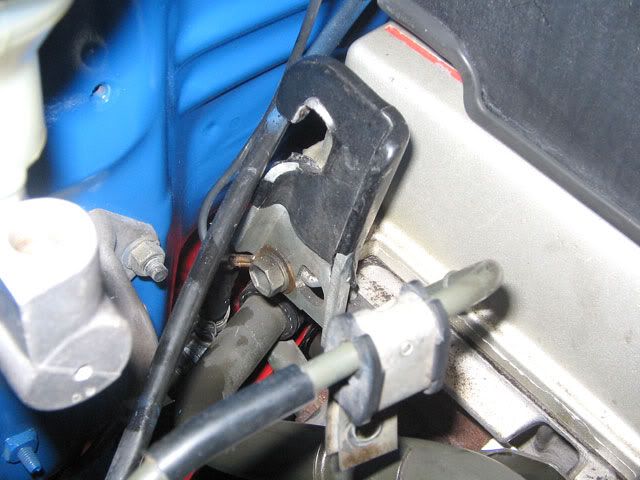
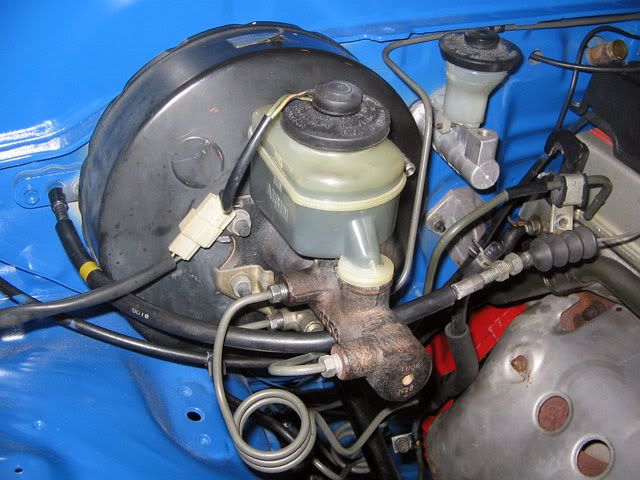
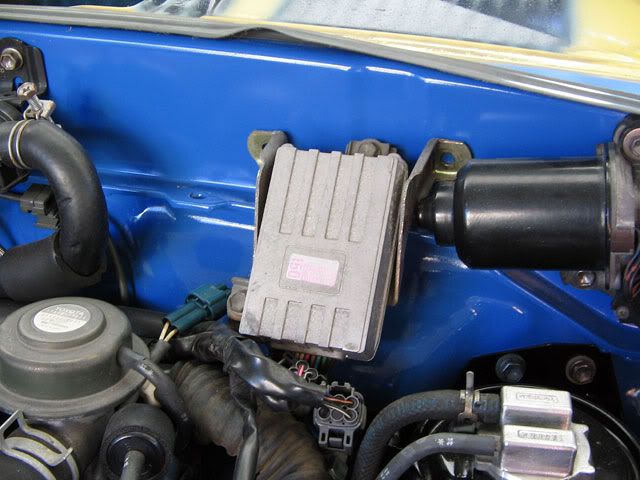
Brake booster and clutch master have all lines reinstalled.
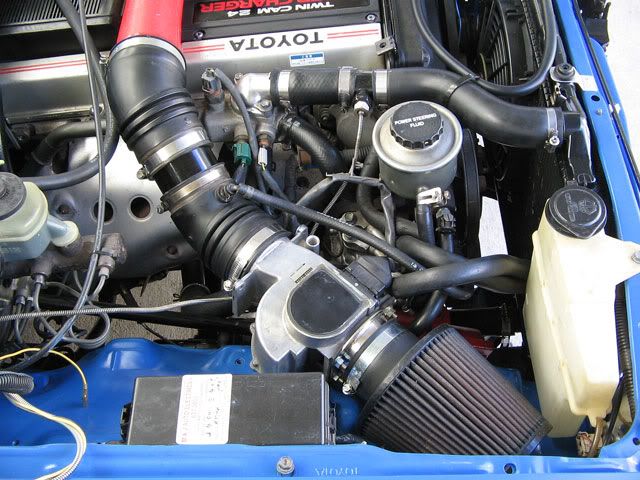
That's my original Hilux accelerator cable in the photo which I swapped out for one from a Toyota Crown 7M-GE. I tried another Hilux one (earlier model) but it had the wrong setup at the throttle body. The new one has a small amount of slack so if anyone knows of a better fit please let me know.
Peter


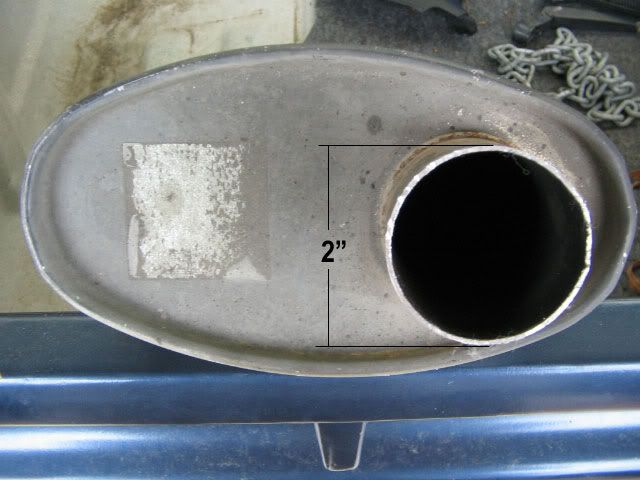
") ) I'll get a Toyota oil filter adapter from Motorsport Connections at Seven Hills - one that allows for the fitting of an oil temp sender. I haven't worked out where this cooler will go but it's size should allow a not-too-difficult fitting using rubber hoses and clamps.
) I'll get a Toyota oil filter adapter from Motorsport Connections at Seven Hills - one that allows for the fitting of an oil temp sender. I haven't worked out where this cooler will go but it's size should allow a not-too-difficult fitting using rubber hoses and clamps.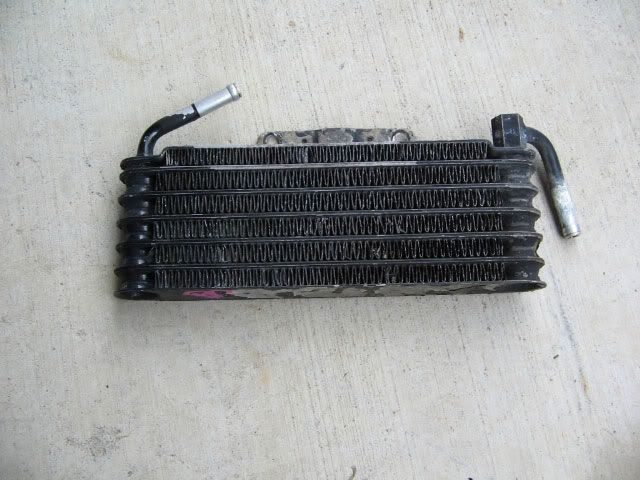


Bookmarks