
 Reply With Quote
yep put something in the pump, think we put bearing assembly lube in mine - instant oil pressure!


watch that oil pump
the edges on it are plenty sharp
and remember the vaseline for that first startup when its dry dry dry
nice to see some nice new parts dude.
yep put something in the pump, think we put bearing assembly lube in mine - instant oil pressure!
Thanks Terra for the hint I think I will do the washer trick maybe even some flow polishing on the pump and since i've been watching this thread with great interest I might even try the head although don't want to bite off more than I can chew.
Also definately looks like i'll be chucking some assembly lube in the oil pump on assembly thanks again for another tip.
Off to the engine builders soon.
Anyone know if its necessary to remove any of these miscellaneous pins scattered around the block...ill be damned if I can get any of the buggers out. If they pull them out at the workshop I guess I will need to order new ones?

nah leave em there mate, they'll be fine
just make sure you chase your threads for your head studs. learn from my mistake
vice grips and replace them they cost SFA
Sorry no update, but any tips on getting the bloody screws out of the oil pump to get access to the gears to lube up and maybe smooth the suckers? Given myself blisters already trying to get them out. Might hit them with a heap of innox and see how they go...
Impact driver works a treat on the oil pump screws.
nah
like jdm86gtz said - use an impact "screwdriver" to get them out. normally have to give em a fair whack too
Ok impact driver worked a treat, thanks! This is my old pump which I will use for a test. The areas I think might benefit from a grind and polish are circled in red. Any other opinions?

the areas i'd polish would be those channels where the oil flows
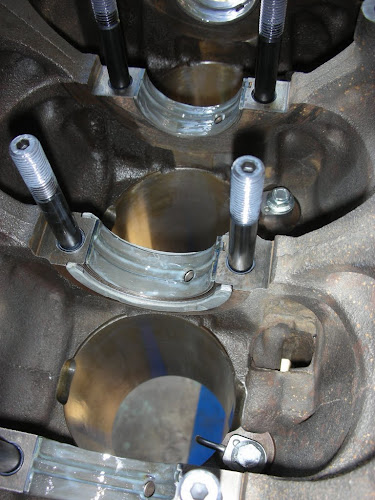
watch the sides of where the crank protrudes through - they are razor sharp and will slice your fingers (i did)
Thanks Grega, didn't think a polish of those channels would have much effect but it makes sense.
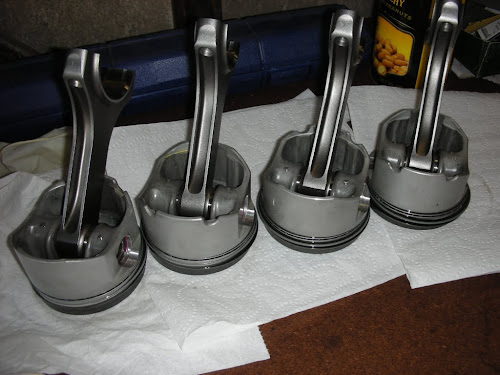
Did a little bit more today. Out of curiosity thought I would see what the current clearances were like on the big end bearings and at the same time took the pistons out.
Most of them were like this, look pretty worn to me!
Actual clearances were within tolerances which is good to know. I'll be getting the journals linished, then told what size bearings to get and then check again upon assembly.
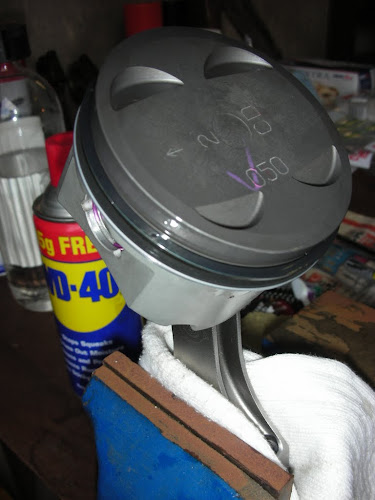
Check this beauty out

Last edited by quiksilv; 18-05-2008 at 11:01 PM.
Long time between updates. Have been overseas for a while and running low on cash but have just recently taken things around to the machinist with bad news...
Unfortunately cylinder 1 was too far gone and needs to be sleeved. Will be trying to source a new block instead. Bloody crank is cracked too! Oh well, better to find these things out now then later. Put a post in the parts wanted section so hopefully something crops up. Stalled until then!
that clearance looks really tight aswell, it looks under a thou !
i dont have a funny or cool signature.
Ok, many thanks to ChuckLandwehr for offering me his 7rib block and crank with squirters and also thanks to The Witzl for trudging it all the way up from Canberra for me! So it now continues...
2 years later i've decided to pickup and continue...
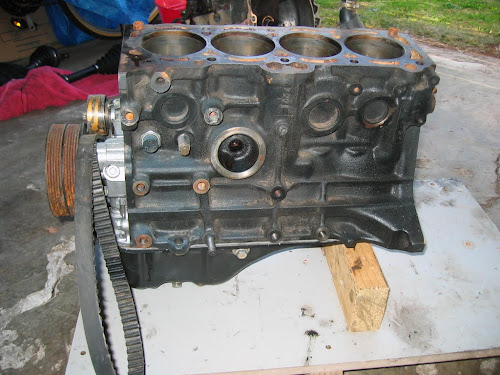
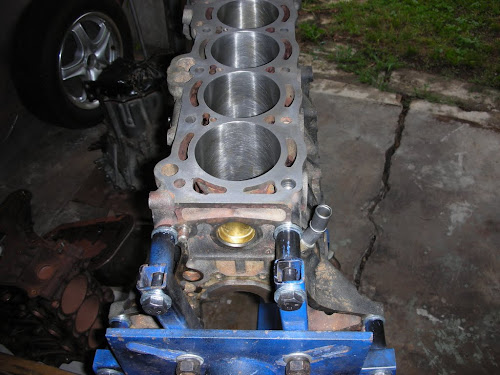
So here is now my second block
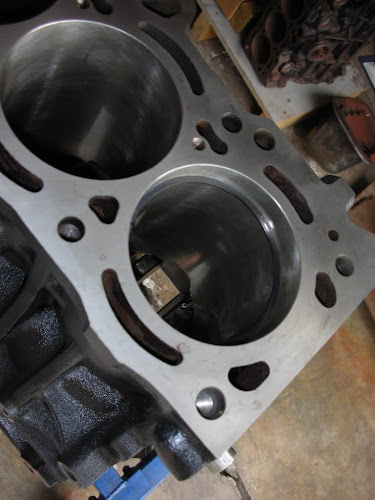
Back from the machinist with the bores looking much better. Although slightly discoloured from me not being quick enough with the washing.
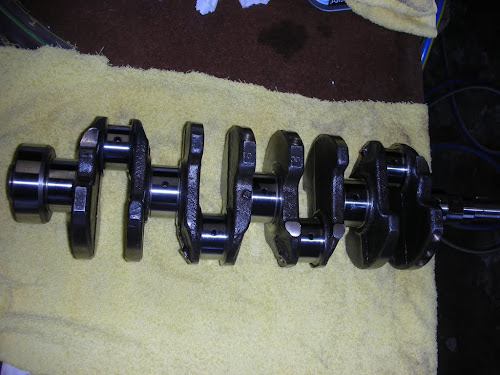
Crank also looking good
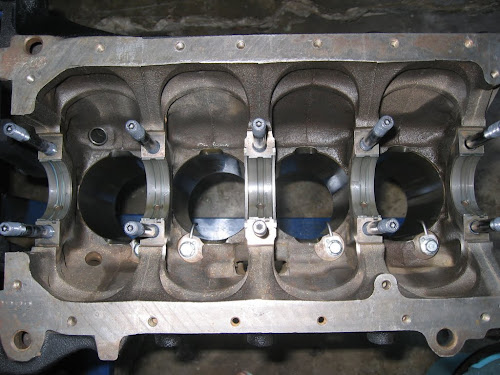
Oil squirters, bearings and main studs in. Used a bit of threadlocker on the squirters... didn't want those puppies falling out.
Bearings lubed
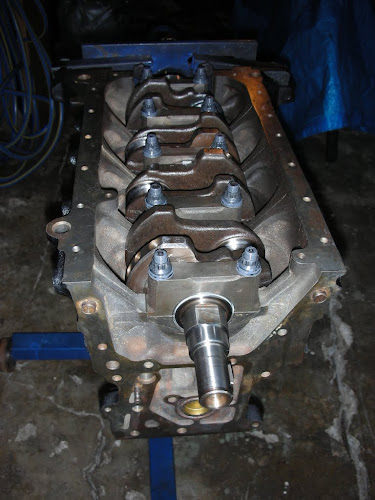
Crank in and mains torqued
Double checking top ring gap
and bottom gap, by pushing it down with a piston
Rings installed
Last edited by quiksilv; 13-09-2010 at 01:52 PM.
 Posting Permissions


Bookmarks