


 Reply With Quote
wireing diagram & how to fit your new, Electronic Dizzy.
Ok. To do the job.
1. Set the motor to TDC ( or as i do, 8 deg. before, as this will help later.), To do this, use a 19mm spanner, on crankshaft bolt, in the midle of the harmonic balencer, & rotate in a clockwise direction. Check that you are on #1, by removing the dizzy cap, the rotor button should point to #1.
2. Undo clamp bolt, use 12mm spanner, remove clamp & bolt ( Note: 2T-G & 3T dizzys, have a built in clamp )
3. Trace back the Black wire, from the side of the old dizzy, back to the old coil. Do this by removing the tape. It will be taped in with a few other wires. This Black wire will also join, to another, Black wire, going to your taco.
4. Remove the old dizzy. ( NOTE the rotation & position of rotor button. This will help later.
5. Disconnect wires from old coil. Then remove old coil.
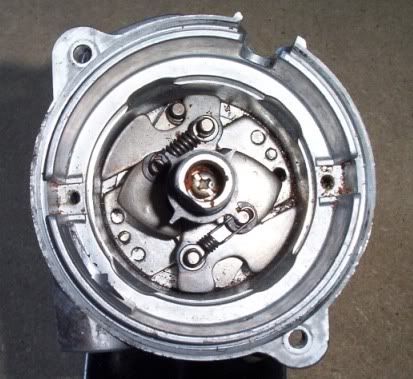
6. Take dizzy back to the bench, & rebuild, with the new parts.
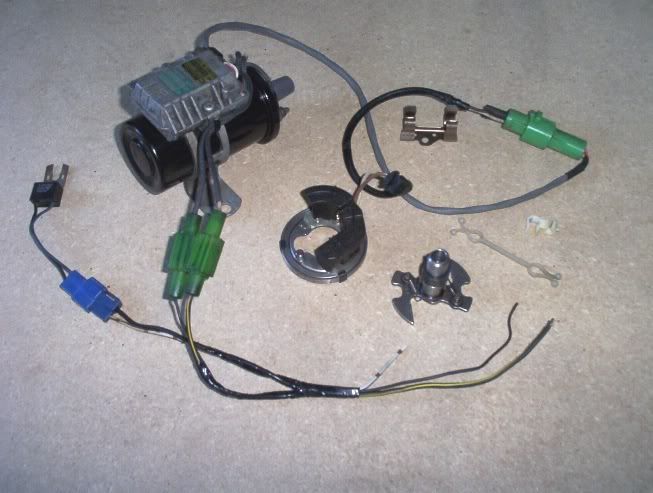
How to fit new Dizzy, coil, & igniter.
1. Connect / solder, the thin Black wire, from the igniter Green plug to the Black wire going to your taco. Then tape it up.
2. Connect / solder, the White/Black wire, from the Blue plug on the noise suppresor, to the White/Black wire, ground -ve, you found when undoing the tape, near the old dizzy. Then tape it up.
3. Connect / solder, the thick Black/Yellow, ignition +ve, to the thick Black/Yellow wire, from the old dizzy. Then tape it up. ( Note: RA60 has Black/Red wire, from the ignition )
4. Tape up the Black/Red wire from the old dizzy. As it's no longer used.( It can also be disconected from the starter . NOT the Black/white wire. )
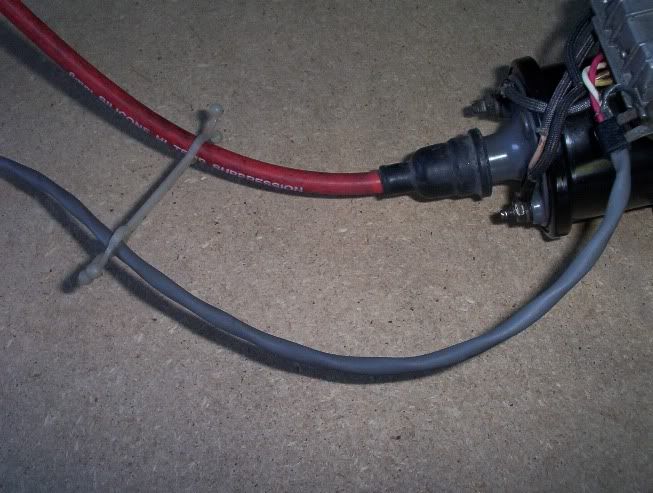
5. Retape, all the wires up, back to the motor, & the chassis loom. ( Note: you should not tape up the new Gray, twin & shielded cable, that goes from the new, coil/ignitor, to the dizzy. this will just hang, or ( if avalible, use the two other, " Toyota " plastic clips, to hold wire safely ) from the coil/ignitor, to the clip on the side, of the dizzy. )
6. Move the rotor button, of the new dizzy, to the resting position, of the old dizzy. ( Note: This should be, just before #1, as it will spin slightly as you slide it in. )
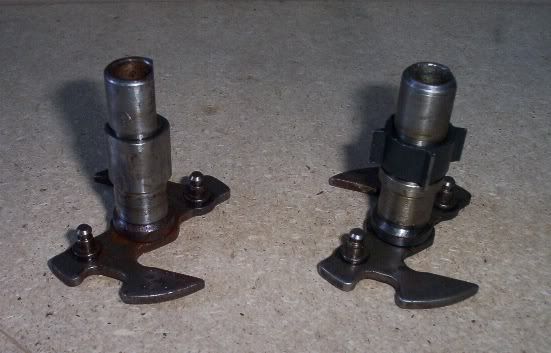
7.Now holding the new dizzy, in the same position, as the old one was removed, slide the dizzy in, watching out not to damage, the "O"ring. A small amount of motor oil, on the "O"ring will help it slide in easier. ( Note: The tongue at the bottom, of the dizzy shaft, must line up with the slot, in the oil pump, for correct fitment. )
8. Rotate the dizzy a bit, to line up the rotor button, with the #1, spark lead on the rotor cap. Refit the clamp & bolt.
9. Connect the Green plug, from new coil/igniter, to new dizzy, & place in clip on side of the dizzy.
16. Recheck that the rotor button, is on #1, & is at TDC or ( 8 deg. before. )
10. START the motor. If it was set to 8 deg. motor should start first turn, of the key.
11. Check the timing, with a timing light, & set. ( 8 deg. before, typical. )
12. Close the bonnet, & go for a drive.
13. Enjoy the fact, that you will never, have burnt points again.


")

Bookmarks