


 Reply With Quote
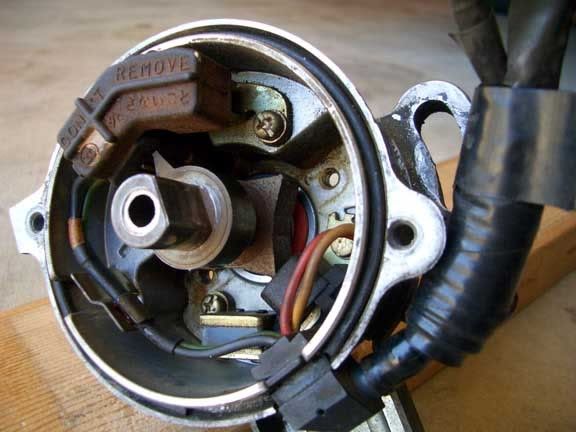
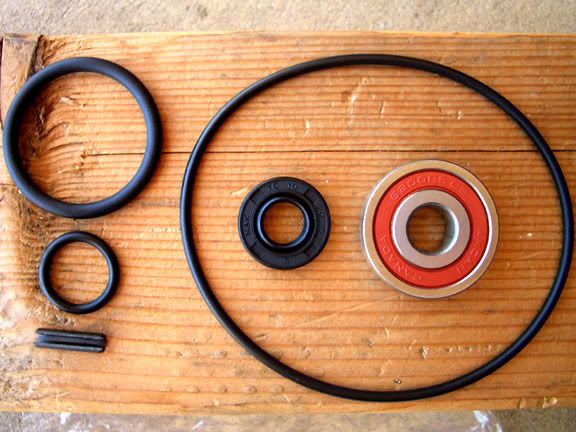
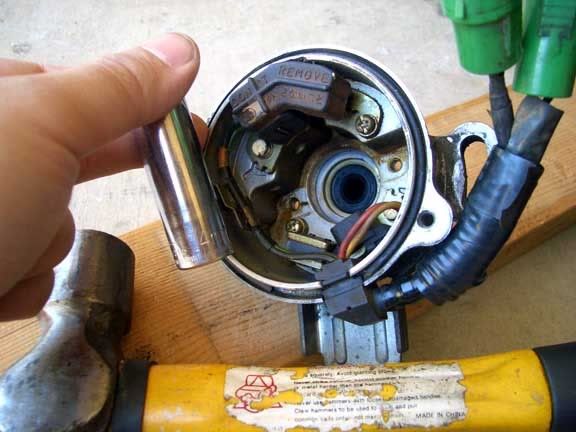
8. Install the new distributor shaft seal. I used a 14mm socket and lightly tapped it into place with a hammer, I set the housing upright on a 2x4 to prevent damage to the housing itself.
The top of the seal should sit level with the bottom of the bevel of the housing opening.
Tip: get a drop or two of ATF and wet the seal down, it really helps when it comes time to install the distributor shaft.
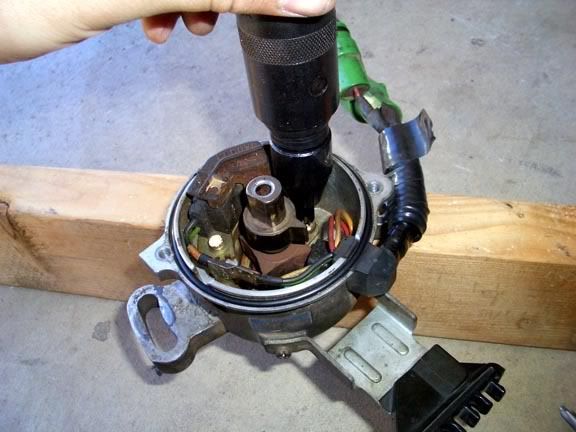
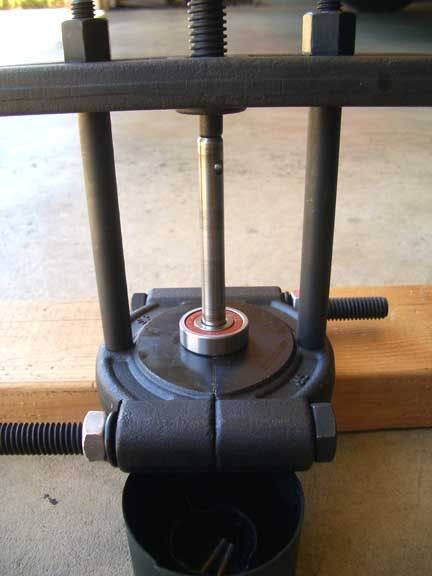
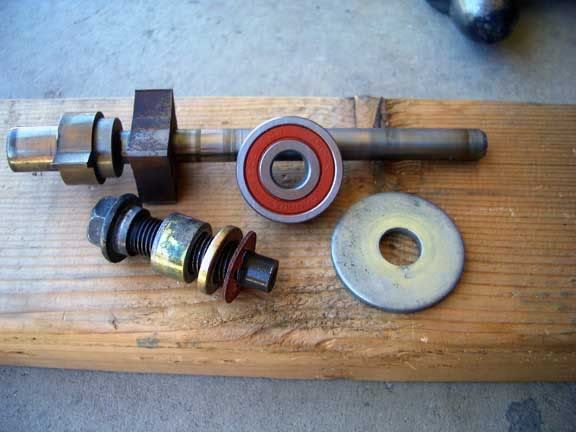
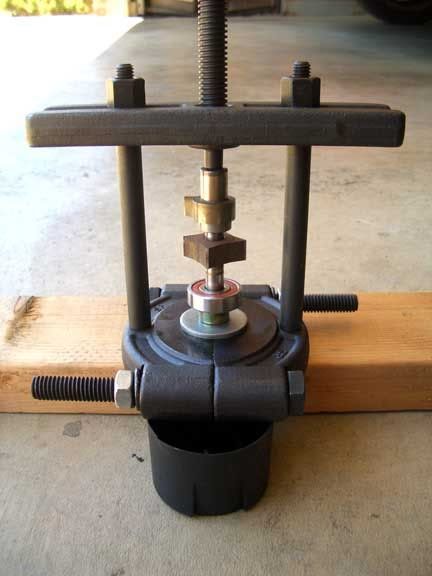
9. Install the new bearing. I found that if you grab a seatbelt bolt from the front seats, it has a 1/2" thick or so spacer that works perfect as an arbor to press directly against the center of the new bearing. Just set that on top of a fender washer and push the bearing up into place.
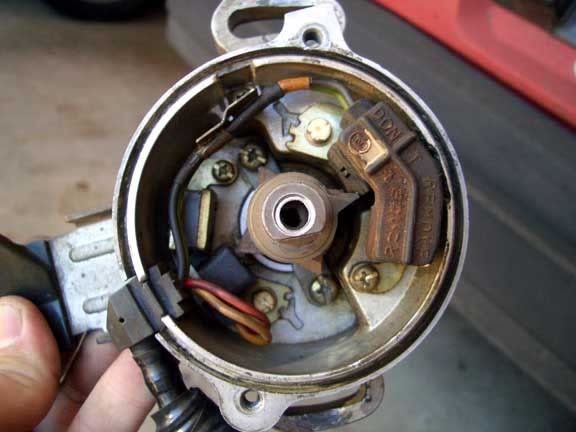
If your uncertain of how far to press it. You can simply remove the shaft and check to see how much further you need to press it by checking where the stator on the distributor shaft sits in relation to the pickup/hall effect sensor/electronics inside the distributor housing. It should sit centered over the sensor strip.
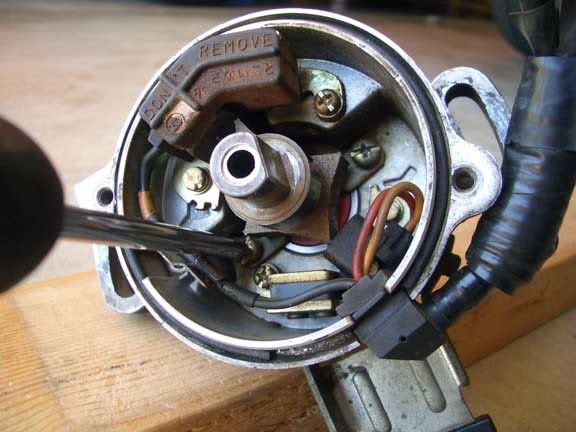
10. Now that the bearing is on the shaft, reinstall it along with the bearing/shaft retainers. I tightened mine back up with a light application of the impact screwdriver.
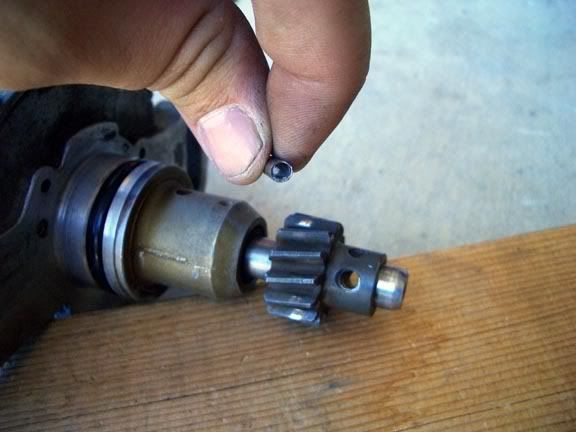
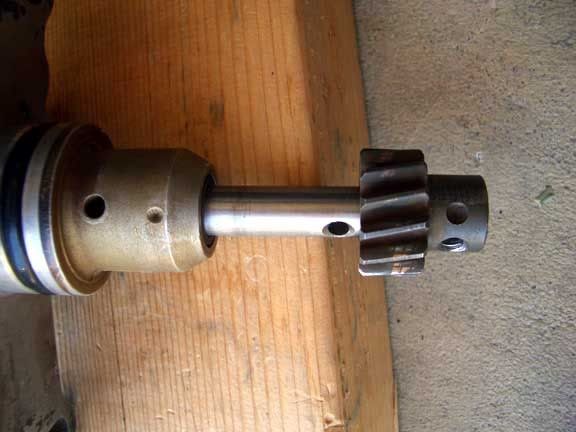
11. Install distributor gear.
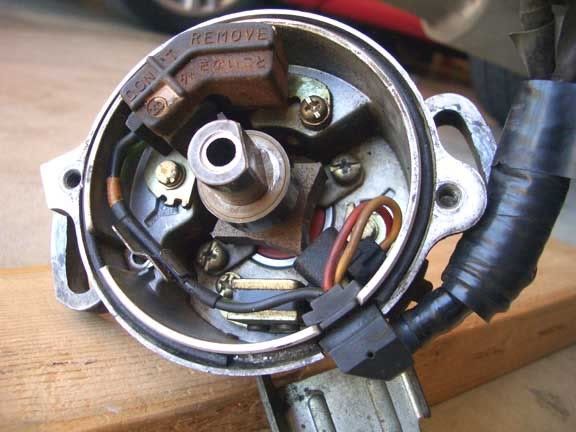
Position the distributor shaft/stator as seen here. The top stator should point just to the right of the sensor. This is the proper position to line up the distributor gear and housing marks correctly.
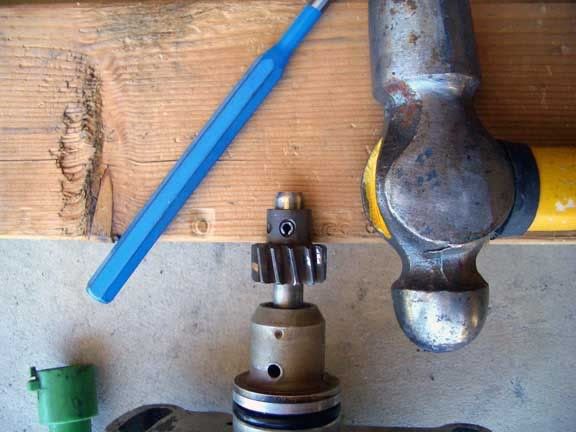
Now that it's lined up, time into install the roll punch. I started it with the hammer, then drove it into place with the punch. It will stick out both sides of the distributor gear, just make it an even amount.
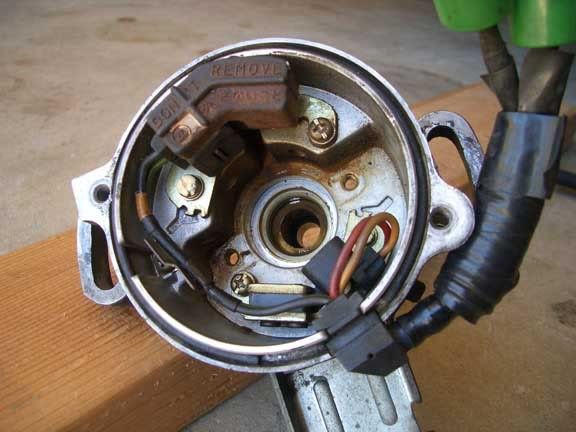
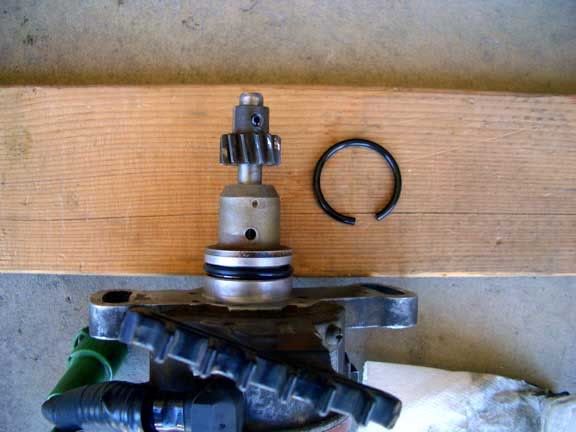
12. Install the new housing to cylinder head sealing o-ring. Cut the old one off, most likely its super hard/brittle from heat. There really isn't much of a point to trying to remove it with a pick.
Don't forget to lightly oil the o-ring when your reinstalling the distributor housing to make life easier.
Done.
Andrew


Bookmarks