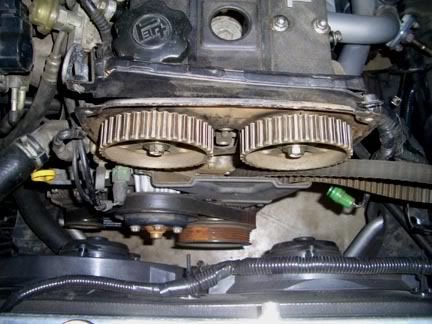
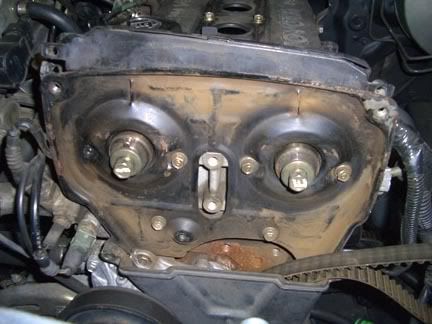
10. Remove rear timing cover/plate. This picture shows the lower 10mm that isn't accessable unless you remove the middle cover.
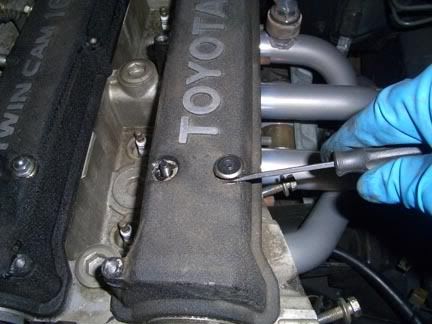
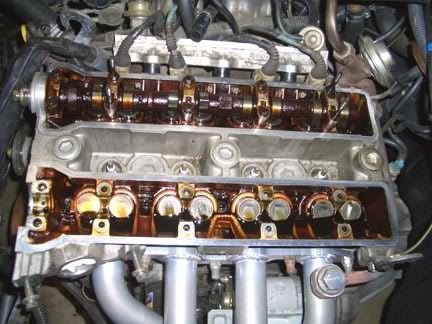
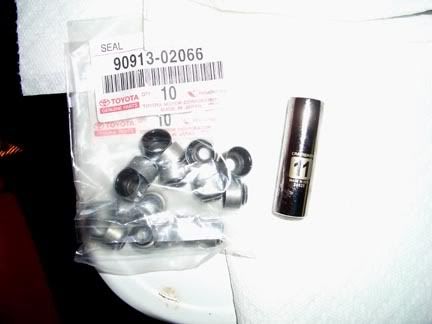
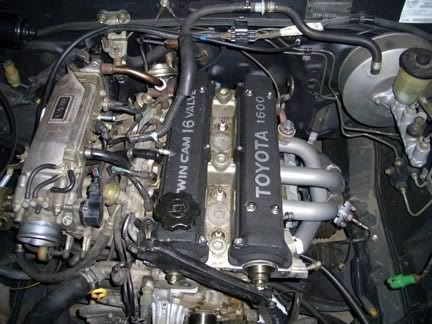
11. Now that you have all the front stuff apart, remove the valve covers. I use a small flat tip to 'work' the cover seals up and off. Remove old FIPG from 90 degree corners of valve cover where the cam caps meet the cylinder head.
Tip: smack the v/c with the palm of your hand sideways to loosen it from the cyl head for removal. Also, get new valve cover seals unless you've recently replaced them.
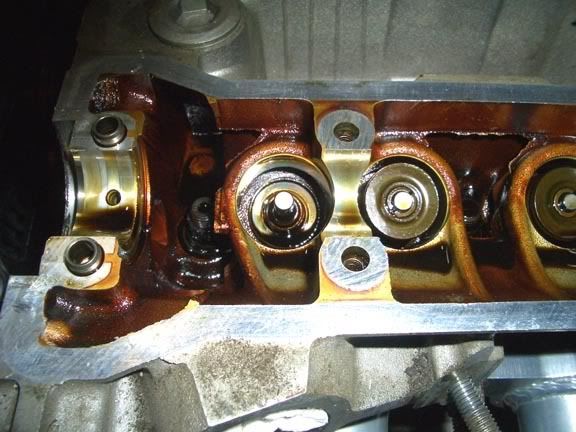
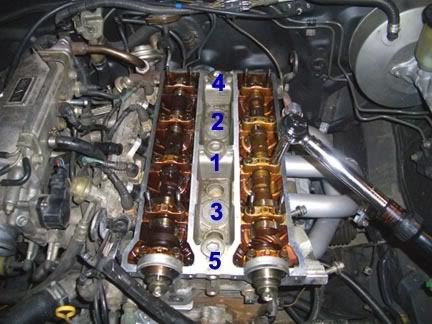
12. Loosen cam caps in reverse order of installation (see pic on step #27). Then loosen each a few turns at a time so as NOT to damage the cam caps. Then remove camshafts. Don't forget to clean the old FIPG off of the front cam caps.
Tip: if you have limited workspace you can remove each cam individually and do the work one side at a time.
13. Now, how to keep the valves from falling into the cylinder once you remove the valve spring retainers & keepers. This can be done a few ways:
A. Use an air compressor and adapter to put 100+ psi of pressure to hold valve up.
B. Using 1/4" or less diameter rope inside the cylinder. (which is what I will cover in this write-up.)
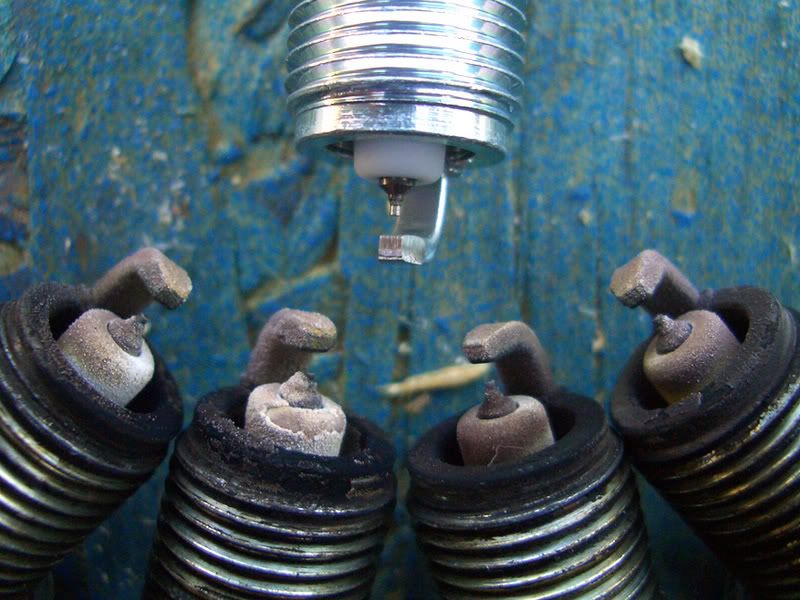
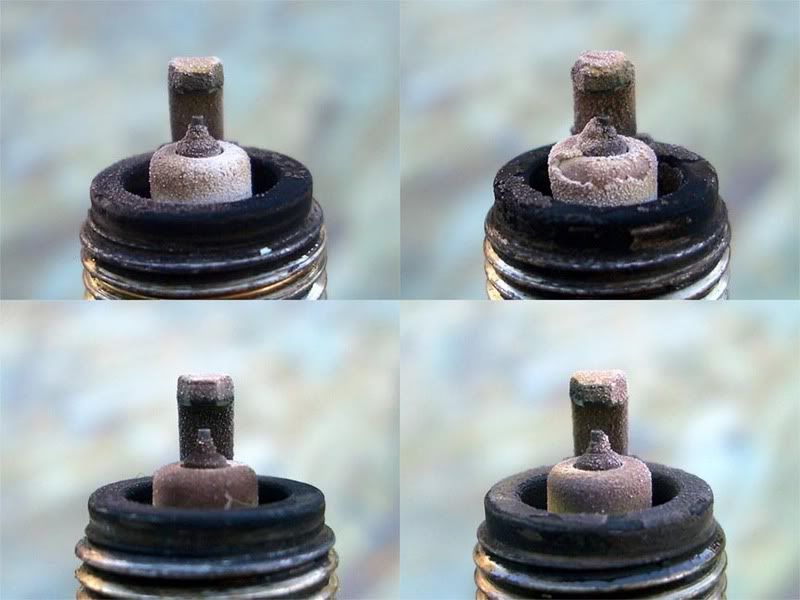
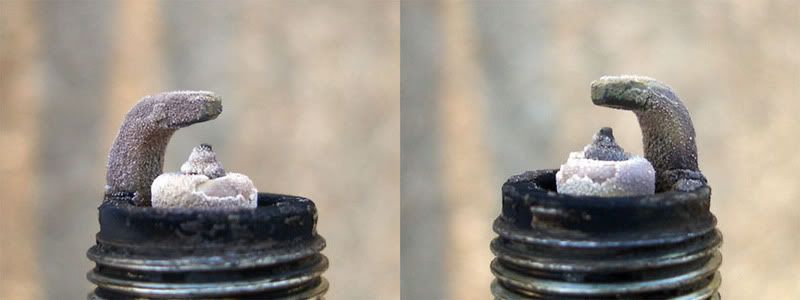
Remove all the spark plugs (do this for either A or B.)
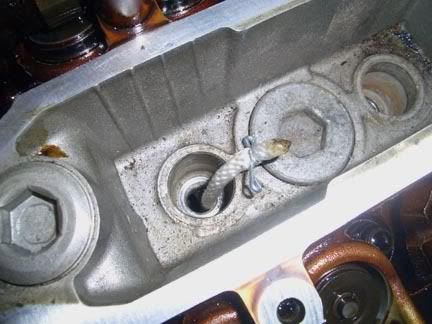
Feed rope into the combustion chamber of the valves you will be working on; with the cylinder at BDC (bottom dead center, cyl at bottom of stroke) I used approx 6.5-7.5 feet of 1/4" thick rope.
Rotate the crank by hand until it stops moving. At this point the rope should be crushed by the piston into the cylinder head and valves and will prevent them from dropping in.
Remember this step HAS to be repeated for each cylinder you work on for steps #16 thru 25.
Tip: use a cotter pin to keep the rope from being able to drop into the cylinder, this can be seen in the pic.
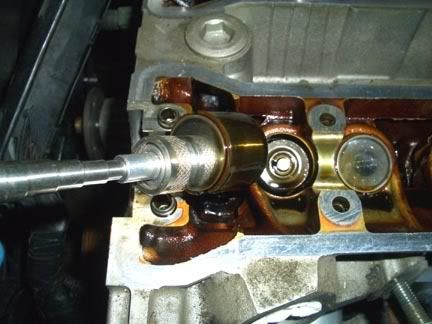
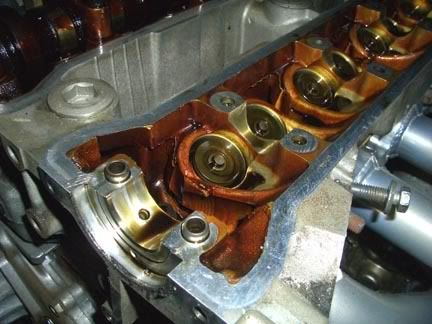
14. Use a magnetic tool to lift out the both the valve shim and bucket at once.
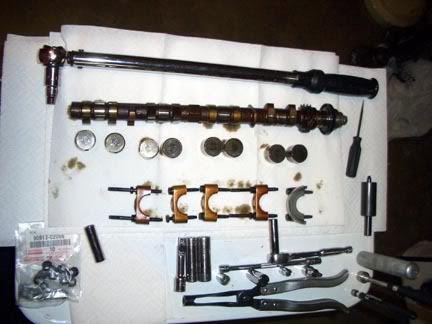
15. When setting everything to the side(IE: on a workbench, tray, cardboard, ect.) Be sure to keep the buckets & shims in order so you DON'T have to do a valve adjustment when all is said and done. BUT, if you haven't done a valve adjustment within the last 90-120k miles. Now would probably be the time.
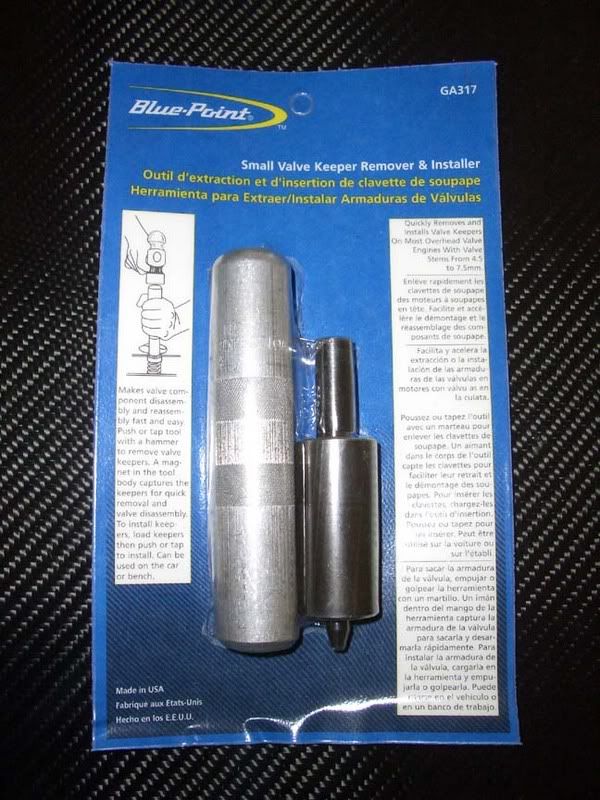
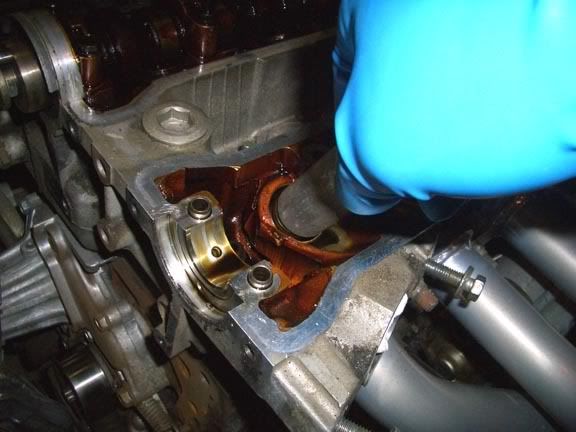
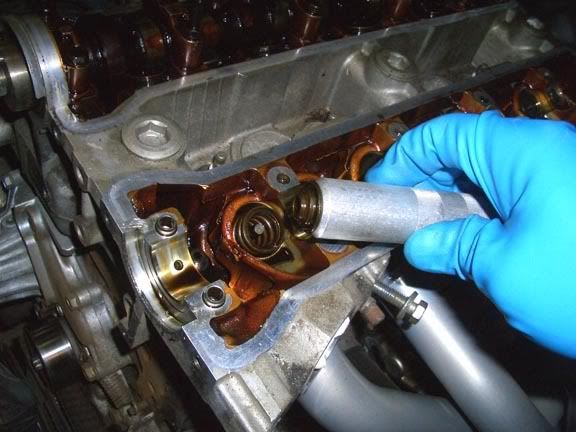
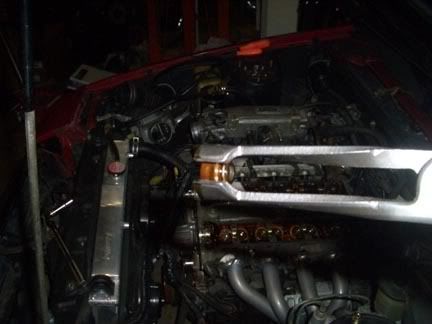
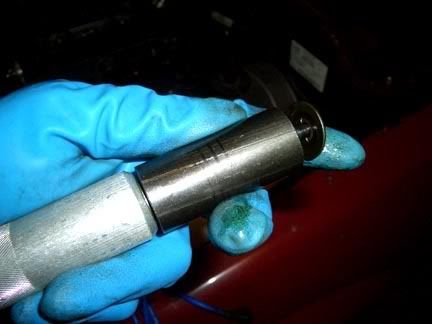
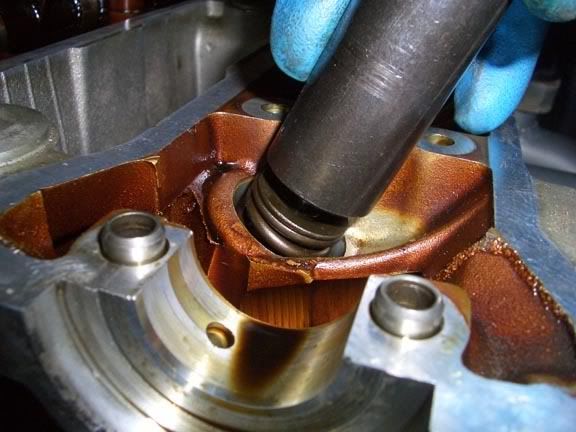
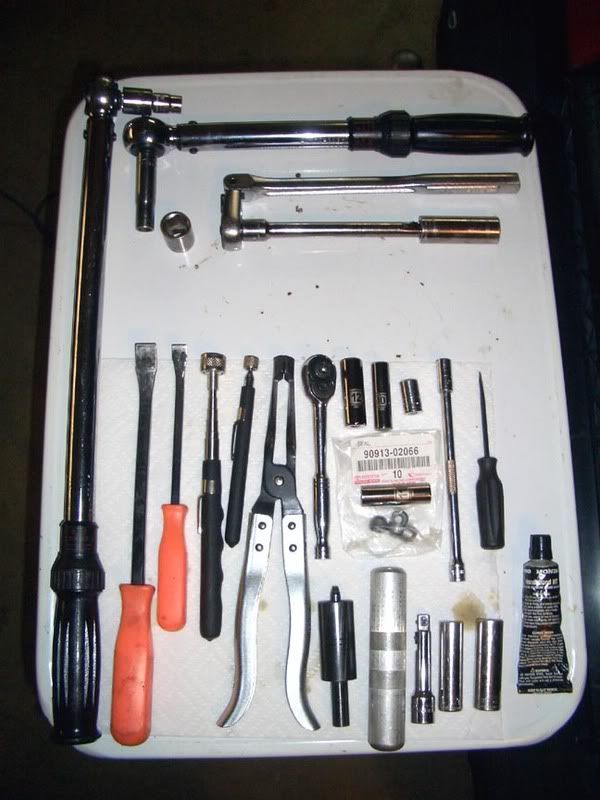
16. Onto the fun stuff. Get your special valve keeper installer/remover tool. Grab the aluminum handle portion, it has a magnet in the hollow center. When you press down with the tool (which is NOT hard to do) by hand, it will suck the keepers into the tool and the retainer & spring is now loose.
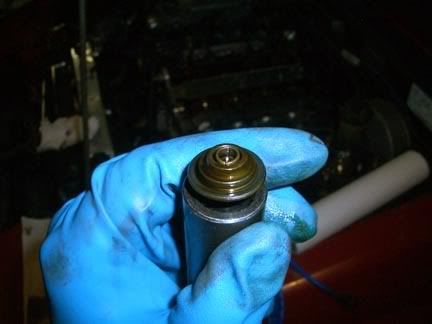
17. This is what will happen once it's loose. The magnet is just strong enough that it will lift both the keepers and retainer off the valve spring once it's loose.
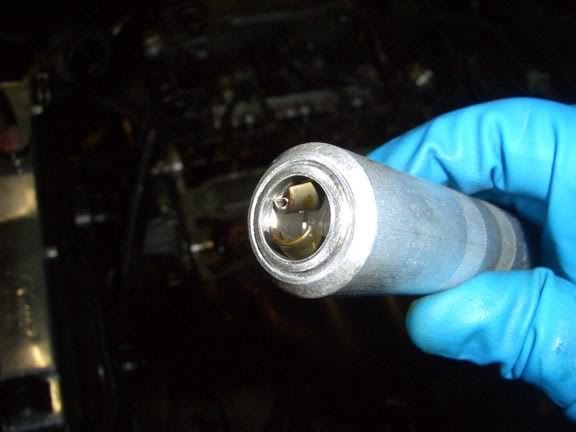
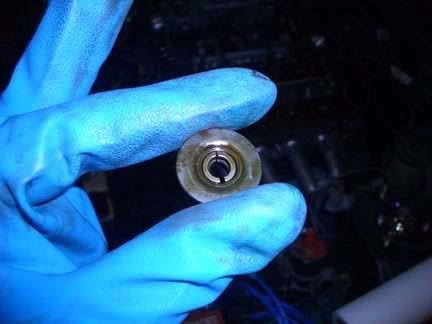
18. Here's a pic of the retainers in the tool. I simply grabbed another magnetic pickup tool and sucked them off the magnet inside the tool to the pickup tool for easy removal.
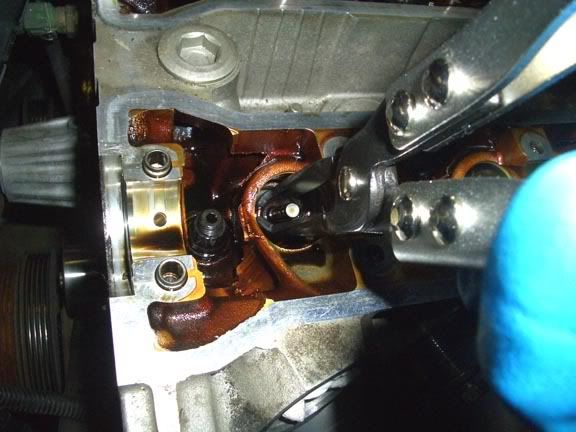
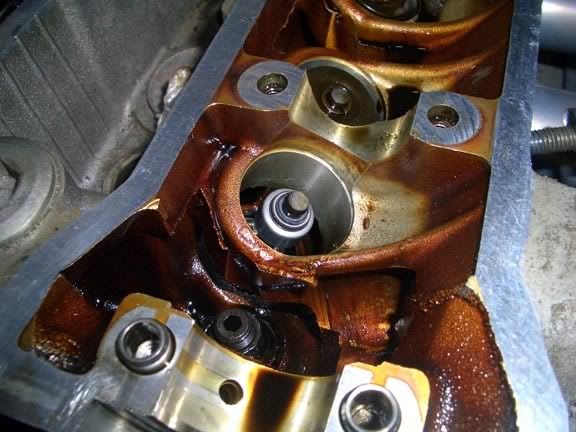
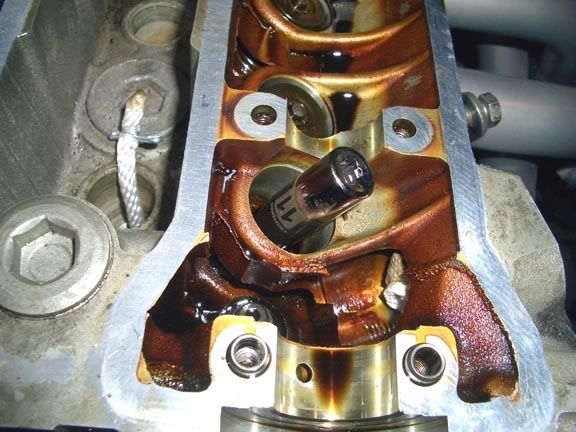
19. Remove valve spring. Note: when you remove it the portion facing down will have a smaller/tighter wound coil at the bottom. Upon reinstallation this portion HAS to be on the bottom.


 )
)

 Reply With Quote


Bookmarks